About a year ago a friend and I were causally talking and she mentioned her bucket list included an Ironman Race. Now, I’ve never been a competitive athlete – I like adventure and fun but I am missing the drive/dedication to be a really strong competitor – but I DO like a challenge and will do most anything if there is a social component. So I agreed to join here on her mission. She, rightfully hesitant that I’d never done a triathlon, kindly recommended that I do a HALF Ironman first, to give me a feel for the race. So last August, I decided I would do a 70.3 this summer (2021).
It is probably worth noting that a half iron distance race is: Swim 1.2 miles, Bike 56 miles, and then run 13.1 miles. In August of last year my experience in those 3 disciplines was limited at best:
SWIM:I had not swam more than a few hundred yards ever, and never swam competitively (we’ll ignore the one season of swim team when I was in the 2nd grade).
BIKE: Kevin in hopes of getting me to bike with him had bought me a road bike in 2006… in the intervening 14 years I had put less than 50 miles on the bike… half of those were “riding it from one garage to a moving truck, and then from the moving truck to a new garage”. I was NOT a biker.
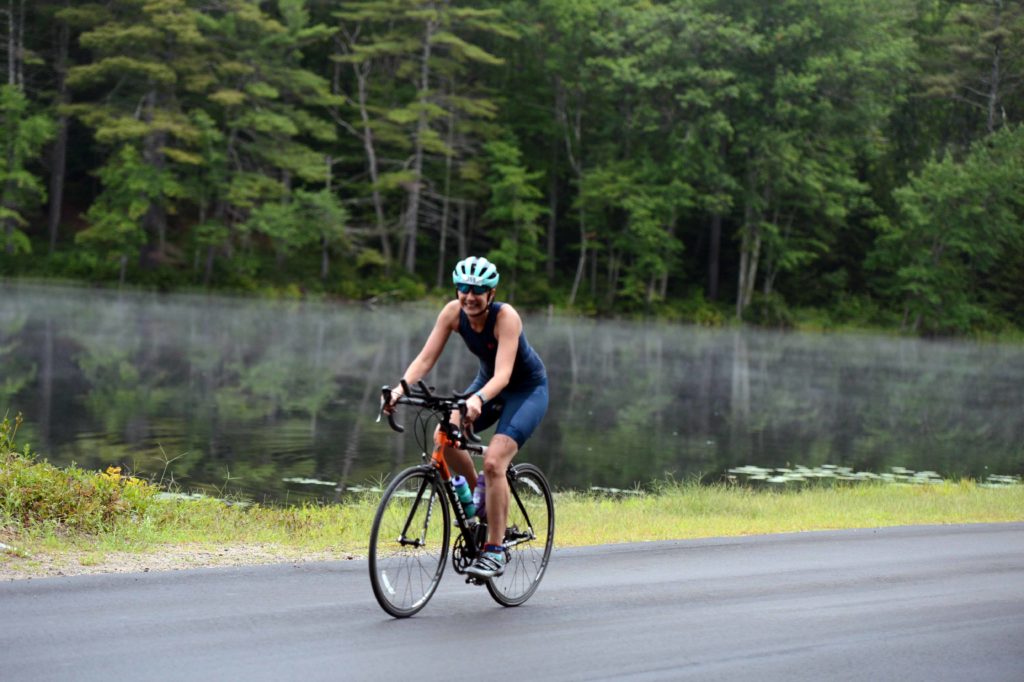
Kelsey, before the first time she rode the bike with clip pedals out of the driveway. Look of confidence for sure!
RUN: I hadn’t competed in running since high school (and I wasn’t a stand out athlete then). I had completed 1 half marathon in my life; (13.1 miles) the summer Ainsley was born, at 31 weeks pregnant, I wasn’t breaking any land speed records. I had run some Ragnar’s pretty consistently at about 1 a year, but those aren’t so much races as they are a tortuous way to get a finish line and a earn a beer.
I am not a natural runner…
So last August the only thing I really had going for me was that I lived on the river- which meant I could do swim training during a pandemic when the community pools were all shut down. I also had a road bike – And although I didn’t know how to use clip pedals, or shift gears, I did have the equipment (also helpful because bikes had become hot items during the pandemic and waitlists were LONG).
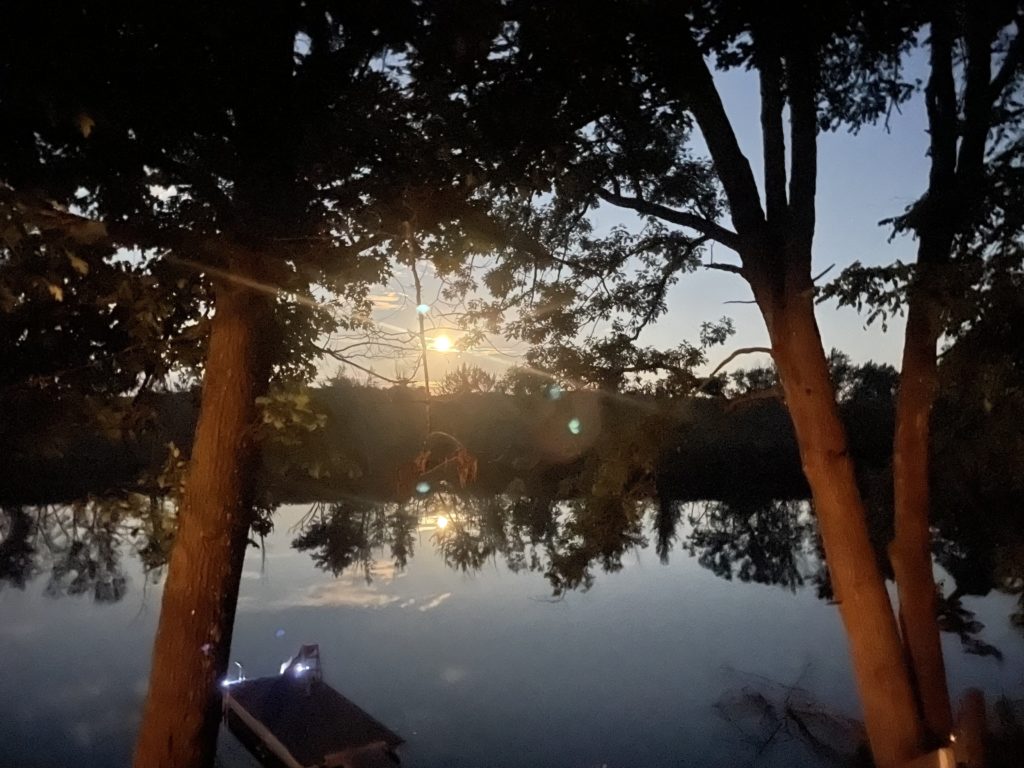
View of the Hudson River from our back porch.
By mid-August I was feeling confident enough to try a sprint distance at our house (sprint distances: 750meter swim, 12.4 mile bike, 3.1 mile run). I finished and felt good! By September I was ready to try an at home Olympic distance (olympic distances: 1.5K swim, 24.8 mile bike, 6.2 mile run).
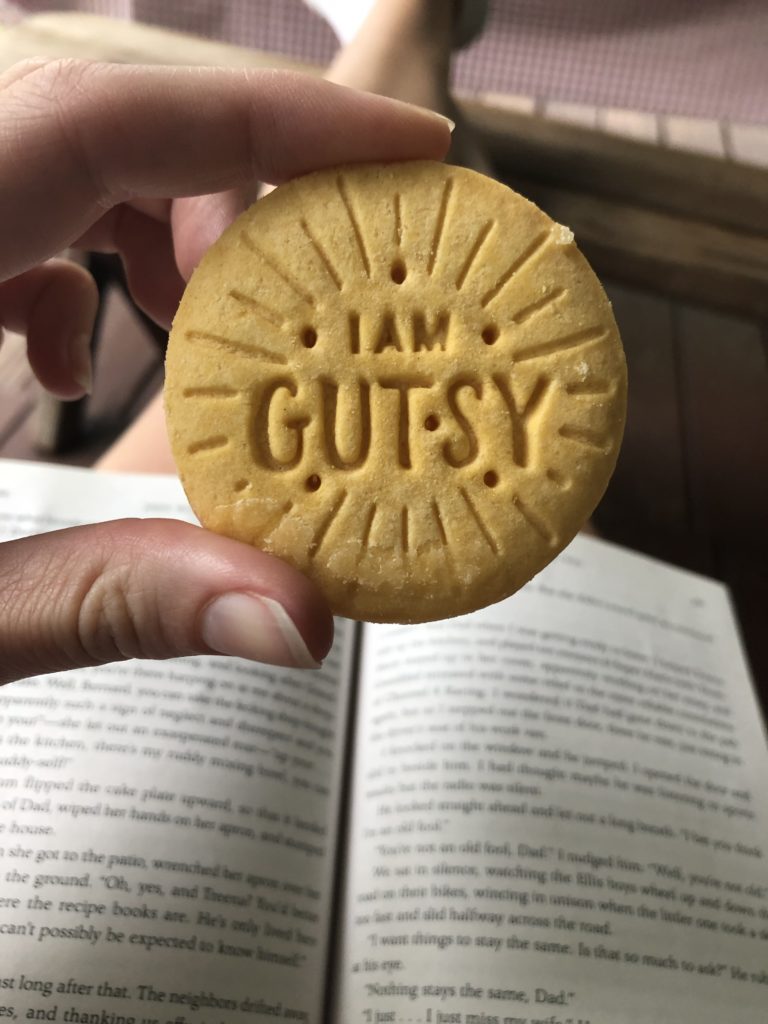
Even the cookies were rooting for me.
It was a gorgeous early September day, some good friends were here to cheer me on, and again I finished feeling like maybe I could do a 70.3 in a year. But now the weather was starting to turn and I was going to need a winter training plan.
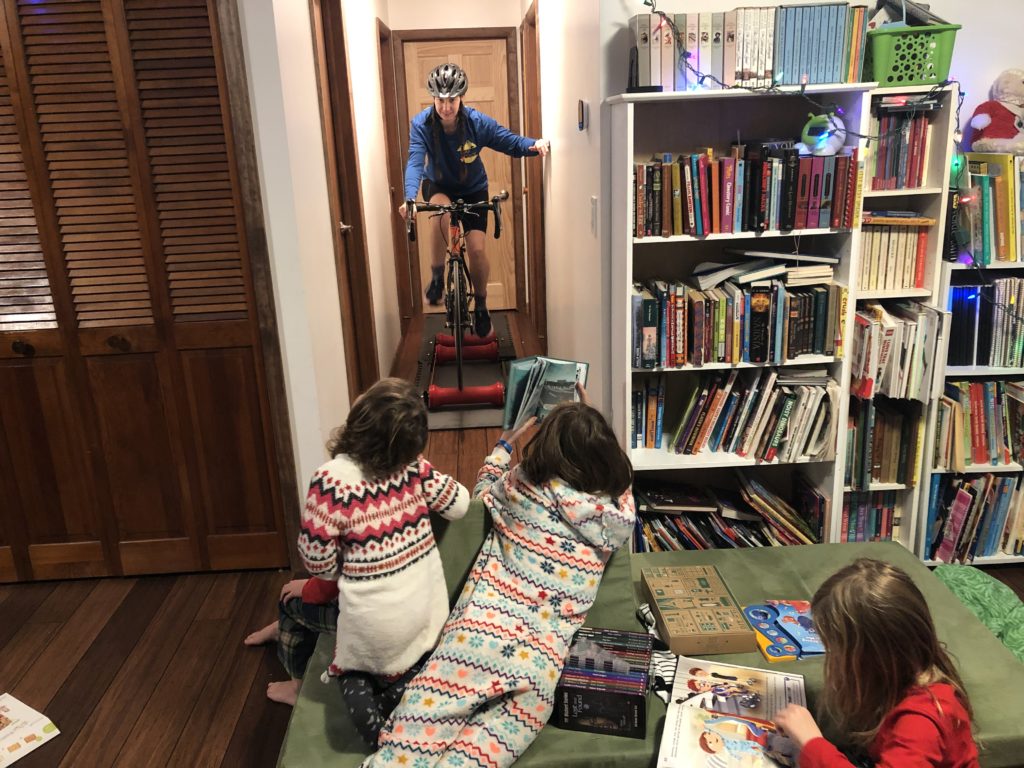
We had acquired a stationary trainer for the bikes a few years ago- which got about as much use as my road bike did – and now I was going to put it to good use. I also bought a used set of bike rollers. If you don’t know what rollers are, that’s okay, I didn’t either. Essentially it is an aluminum frame that holds 3 large rolling cylinders, or rollers. The trick is to put your bike on the rollers and then ride – the rollers keep your bike from moving forward, but do nothing to keep your bike upright, that part is all core! Here’s a photo of the kids watching me learn to ‘ride the rollers’ in our hallway so I could catch myself on the walls as I learned to stay balanced.
Forrester’s reading and watching Kelsey bounce between walls in the hallway on the rollers.
We also bought a used treadmill- that story by itself deserves it’s own blog post! It was the first time in almost 9 months Kevin or I had set foot in someone else’s home because of the pandemic and was quite the experience- BUT it did get me an awesome treadmill.
So all winter I trained… well at least once a week? Mostly I thought about training… in the spring I signed up for a half-marathon (13.1 miles) with a friend. I wasn’t trying to win anything, just finish that distance not pregnant! We went, we ran, we finished.
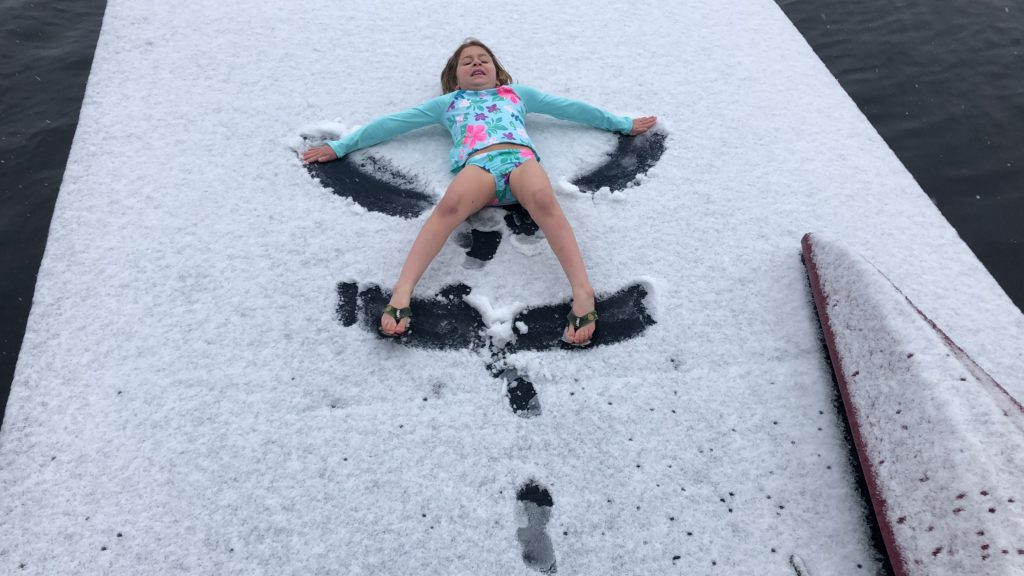
I was happy, but now I needed to commit to a 70.3 race. COVID-19 cases were still pretty low, but I wanted a race I could easily drive to that wouldn’t have hundreds of out of town participants. I signed up for a small race in New Hampshire for the end of August- enough time to swim train in the river that as of mid-May was still too cold.
Ainsley doing snow angels on the dock after we’d put in the water in April, before *I* was willing to swim in June.
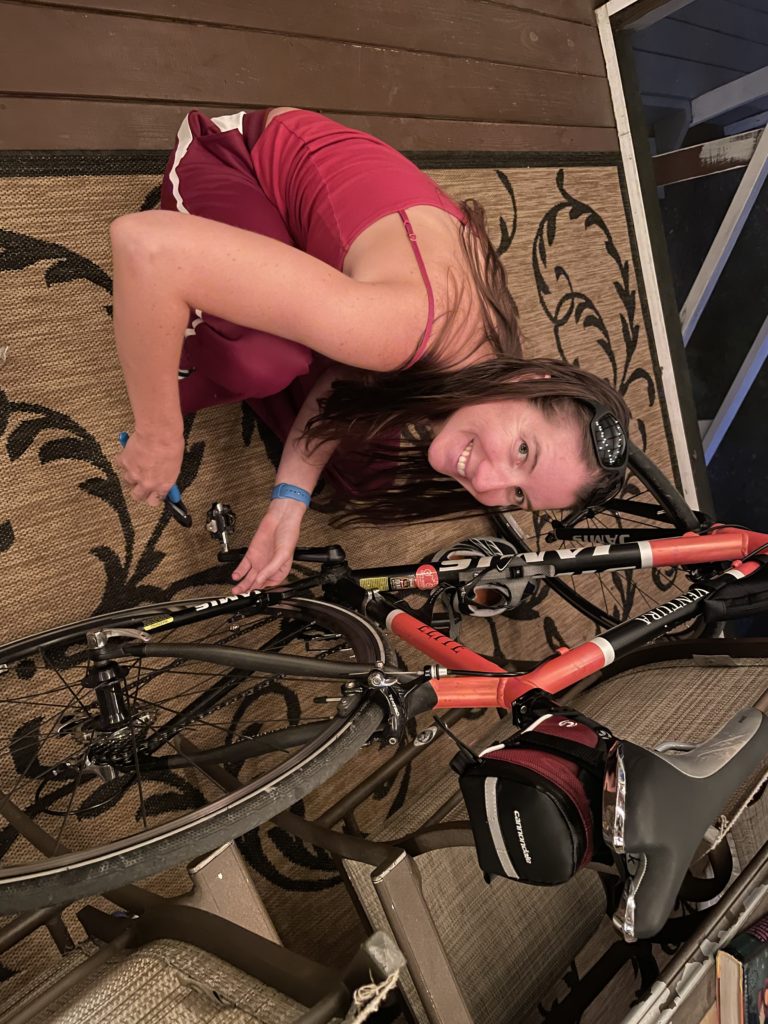
In May, I went to women’s cycling event hosting by the Adirondack Multi-Sport Club. The goal was to get more women comfortable with their bikes – they had experts teaching bike maintenance, etc. and I went on my first group ride- there were 3 of us, but it was a start.
I was eventually confident enough to do simple bike maintenance in the days before the race (important since my race Sherpa was staying home with the kids!).
June came and went in a blur. I got in the river some days, but the water was still cool. Near the end of June, it was starting to feel real- I was signed up to do a 70.3 mile race in a few short weeks and I was still swimming with my head above water, biking in 1 gear (I still hadn’t learned how to shift) and since my half marathon hadn’t logged many miles in my sneakers.
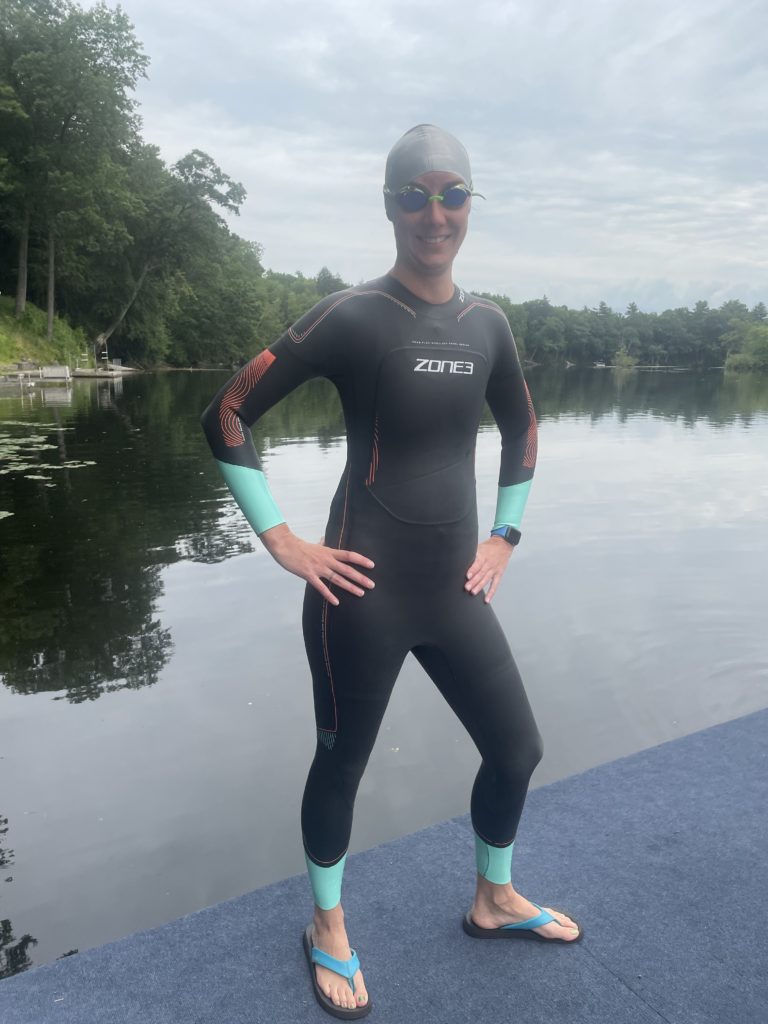
I bought a wetsuit to help with swim training in cool weather and because you’re usually allowed to race in one!
In early July, I showed up to a group ride organized again by the Multi-Sport Club. I didn’t know anybody, and barely knew how to ride a bike. They still let me ride along that day. They were kind when I was slow and offered some suggestions and etiquette tips for group rides. I was very grateful. They also informed me of another standing group ride in the area. Again, I showed up alone and was greeted with friendly faces and encouraging tips. For 8 weeks I rode 2-3xs a week with these “guys”, (there were a few women in the mix occasionally too but often I was the only lady on these rides). For 8 weeks these new friends held back their speeds so I didn’t get left behind, gave me expert advice, encouraged me to ‘be brave’, cheered for my successes, were gracious with my crashes, and genuinely made me a better cyclist.
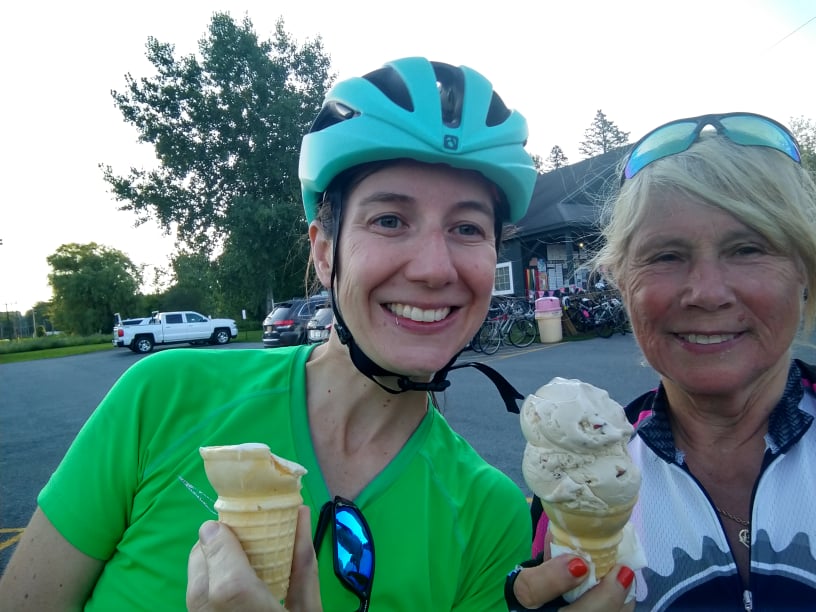
Kelsey, and her riding friend Kathy, enjoying ice cream after a Adirondack Multi-Sport Ice Cream ride.
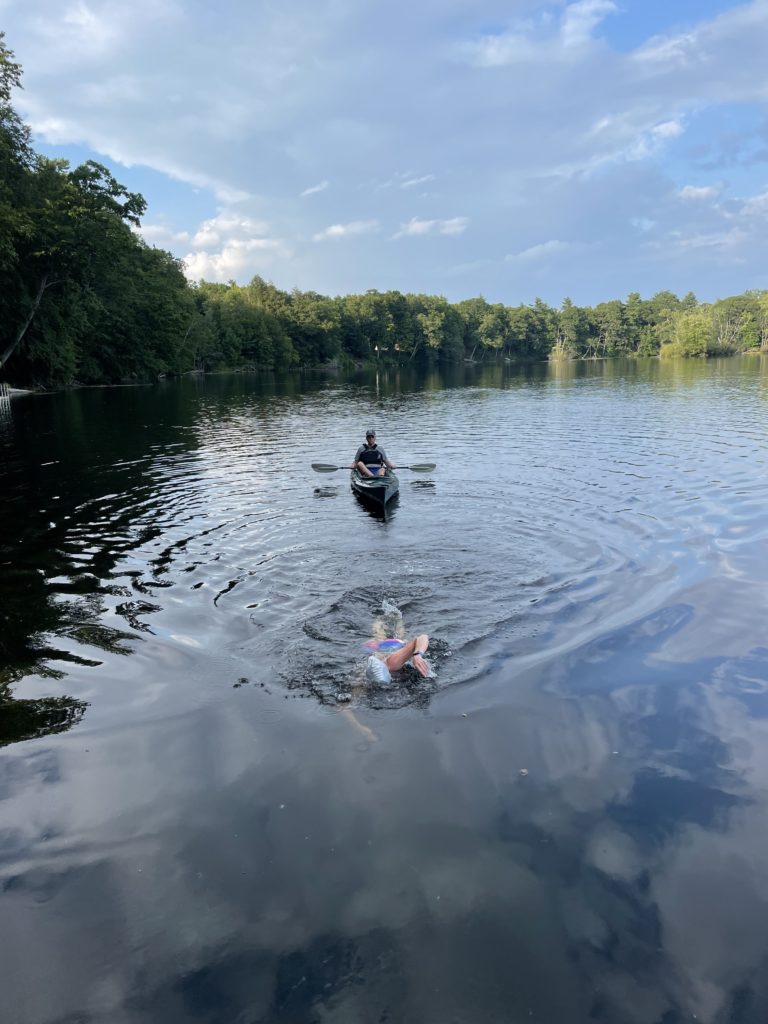
By August the rains had started to subside and I was able to get in the water to swim more. The big kids were good sports with safety boating for me – I’d swim about a half mile up river and they’d paddle a kayak careful to stay an arms reach away if I needed a rest and yet far enough that I didn’t hit the kayak with my arms while swimming. On days the water was really high and swift, Kevin would safety boat for me. And while visiting in August my father-in-law graciously offered to safety boat for me.
Paul safety boating for Kelsey in the Hudson River in early August 2021.
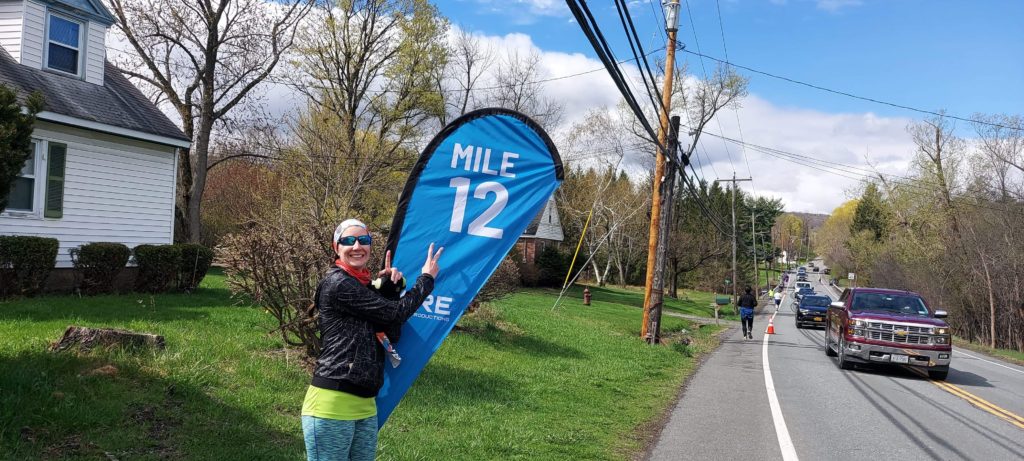
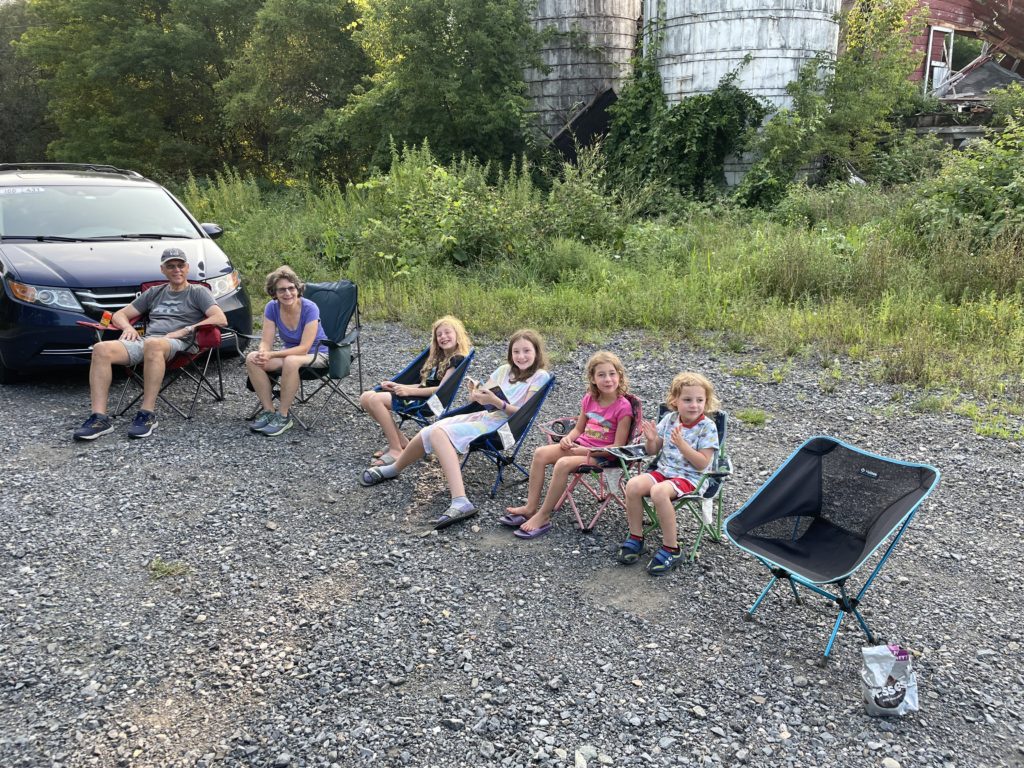
Also, knowing that my crew would no be there to cheer me on for the BIG race – everyone came to cheer for me during a local time trial put on the by the Multi-Sport Club. It was so fun to have a cheering section.
Paul, Jill, Dillon, Rayleigh, Ainsley, and Grayson roadside during a Time Trail to cheer Kelsey on during the 10 mile race against the clock.
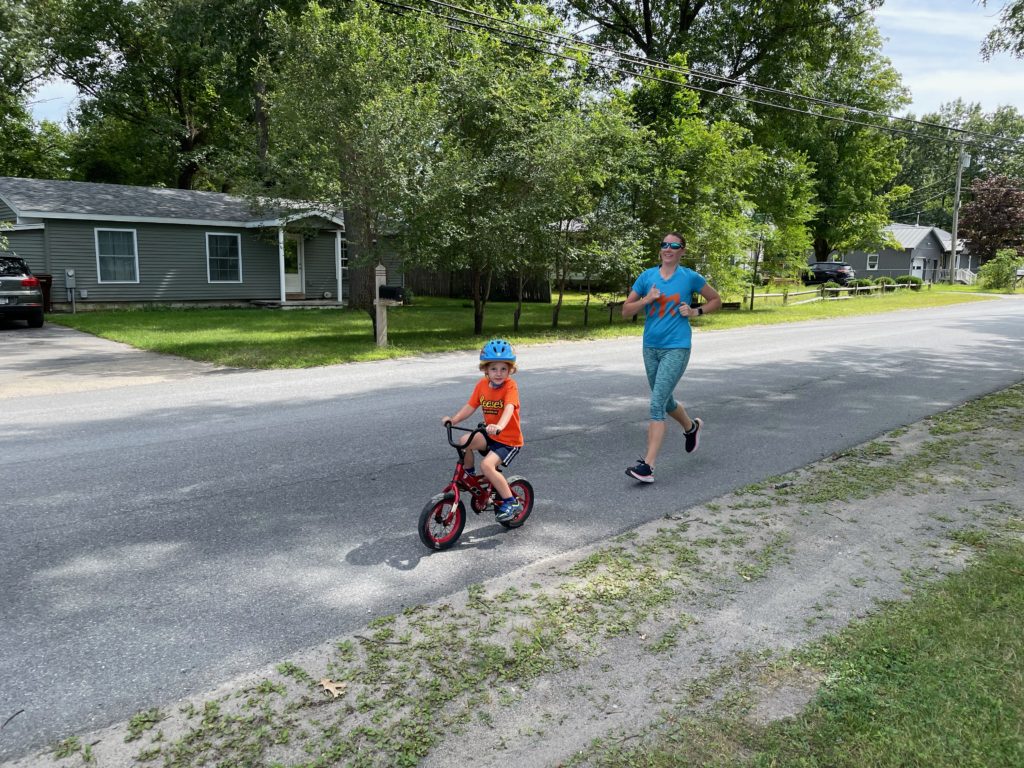
On the weekends I would try to put in more training hours- but that meant large blocks of time away from the kids… or the kids had to train with me. So most Sundays you could find me running laps – each lap I ran a different kid would take their turn biking with me. Dillon was by far my most dedicated biker – he logged over 50 miles on his bike this summer while I ran!
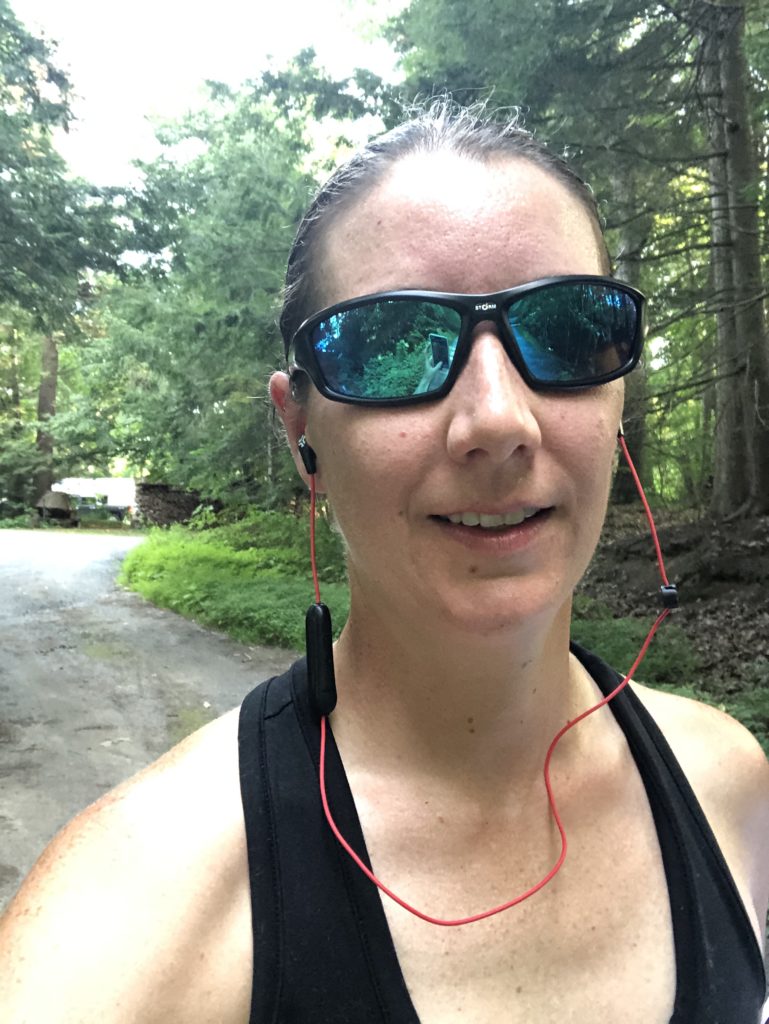
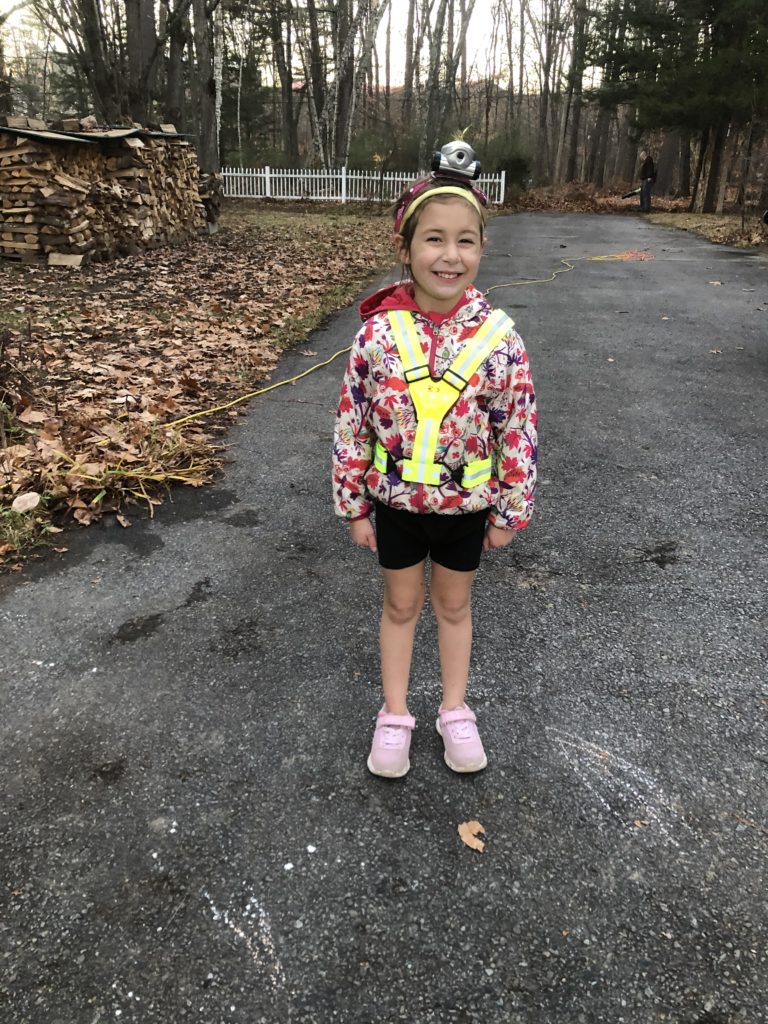
Grayson biking while Kelsey did a training run. In the fall, Ainsley was always happy to gear up with lights for runs that often ended after the sun had set.
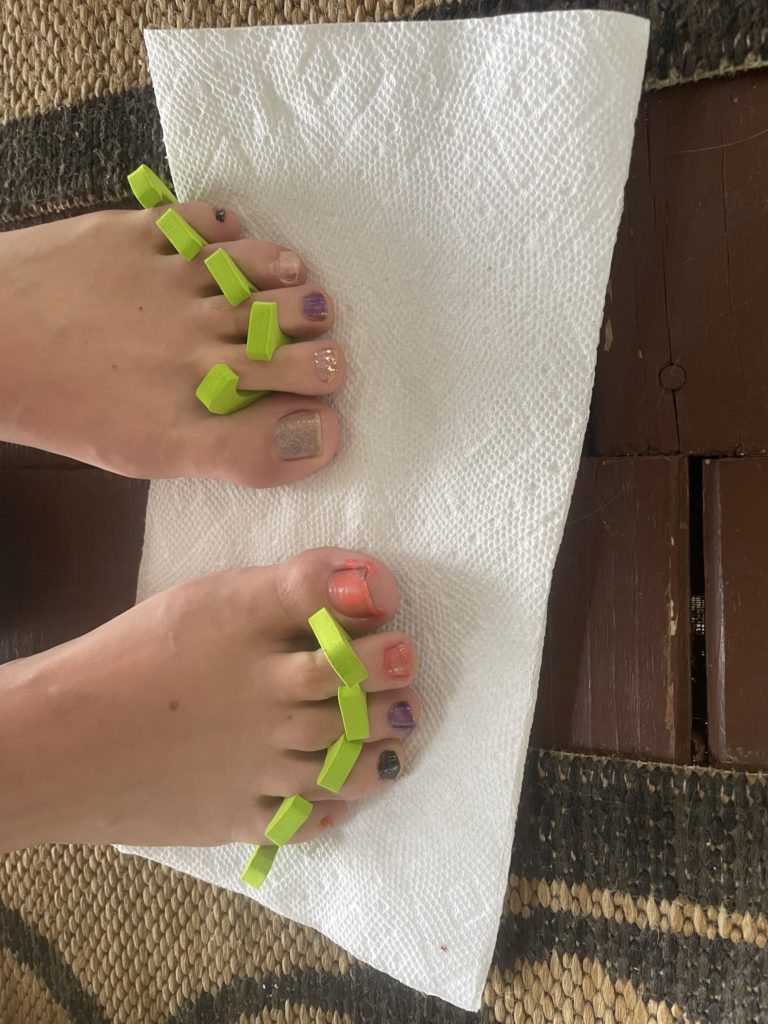
Soon it was the week of the race – the weather on Thursday had a “Real Feel” temp of 107°! The workouts that week were brutal. Due to the pandemic I was going to do this trip solo. Which meant my biggest fans wouldn’t be there on Sunday to cheer me on. So before I left they painted my toes,
Kevin and the kids each painted 2 toes in a color of their choosing, for good luck!
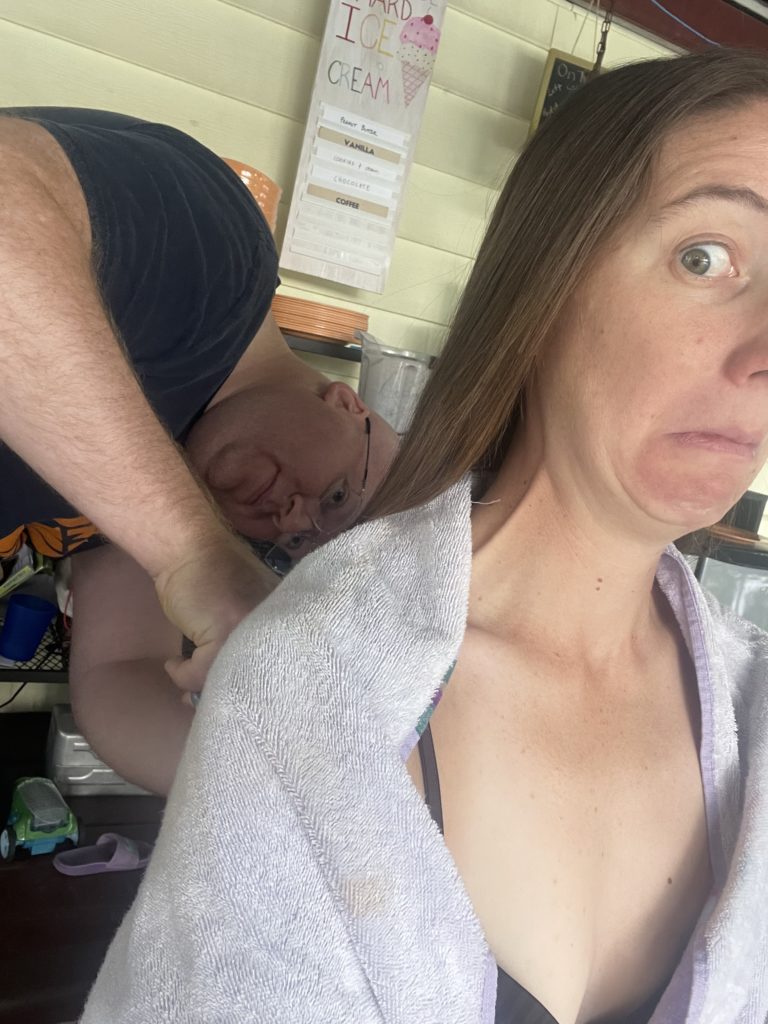
gave me a haircut,
Before leaving Kevin cut Kelsey’s hair. It had grown out and she was afraid it wouldn’t all fit nicely under the race provided swim cap on race day.
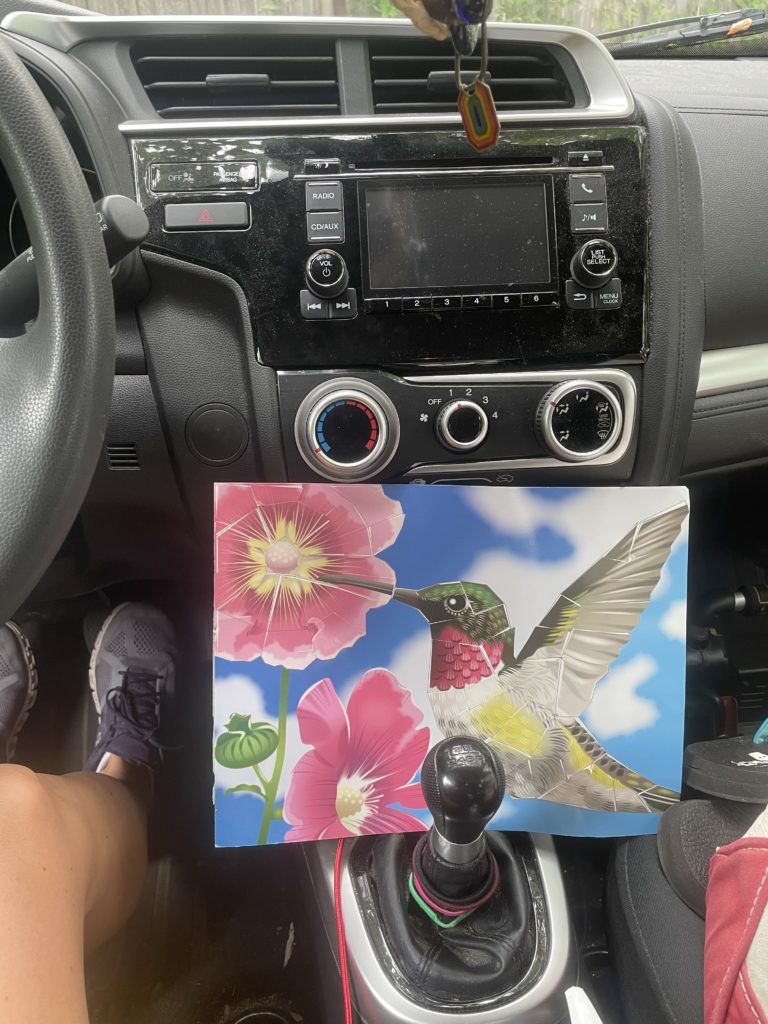
and filled the car with good luck artwork.
Good Luck art for the car ride to NH.
On Saturday I loaded the car and drove to New Hampshire, that afternoon I drove the course so I wouldn’t get lost(!) during the race and so I would have a feel for the hills and road surfaces – especially important on the bike ride. Then settled in for an early night, as I had to be race side shortly after 5 am.
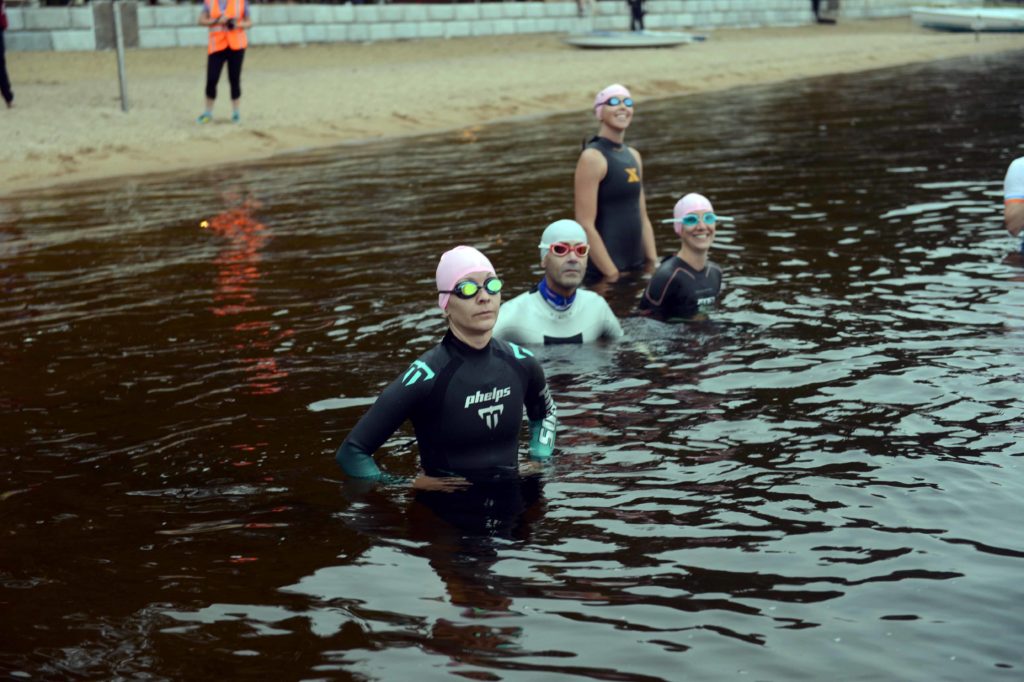
That’s me, Kelsey, squatting in the water, third back from the photographer – with a big silly grin because I didn’t know any better! Photo Credit: Ed Harrigan Photography
Race morning went smooth. Having never done a real triathlon before I didn’t have any personal experience to draw on, the USAT race official was very kind in helping me to get my equipment set up in the transition area. The race director gave us a quick pep talk and last minute instructions and at 6:30am I began my first triathlon, a half-iron distance 70.3 race.
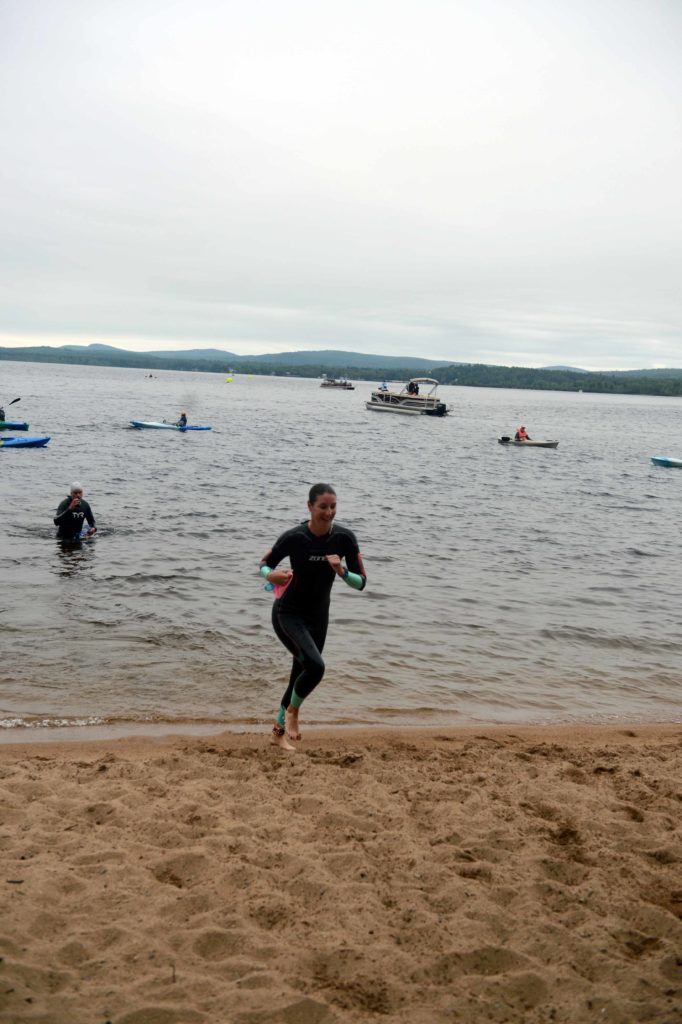
Kelsey exiting the water after a 1.2 mile swim.
After over 6 hours of racing including my longest ever bike ride!
Kelsey, biking at about mile 20… she still had over 2000′ of elevation to go over the next 30+miles. Photo Credit: EdHarriganPhotography
I sprinted across the finish line near a pristine lake in New Hampshire. I had a blast. I wasn’t the first one across the finish line, although I did place 3rd for women. I absolutely had a fun race. Thank you to everyone who sent encouraging words in the days leading up to the race. Thank you to my family who sacrificed countless family meals with me, so I could get in some miles. A huge thank you to Kevin for buying me that bike all those years ago, for being super dad while I tried to be an athlete, and for always being willing to make me more food when I would come home STARVING well after the ‘kitchen had closed’ for the night.
I don’t know if I’ll do another 70.3 or if I will ever do the full Ironman (I’m not even sure that race is still on my friend’s bucket list!) but I am happy for the experience I had and the friends I made along the way.
March 12, 2020- The last day my kids stepped off our property.
The last day my husband ran and errand or interacted with someone not through a screen!
The past month and a half has been full of change and adaptation for much of the world. However, our 6 pack was going to explore a new normal this spring anyhow. We moved in December to a home that had been vacant for several years. Meaning there was lots of work to be done- inside and out. We pushed through much of the indoor work early on (THANKFULLY!) so we could live comfortably before the lockdowns started. But spring was always going to be spent raking, raking and raking… and maybe identifying weeds vs desirable plants. But also time to explore the property and surroundings. The surroundings part is on hold, but the property exploration is in full swing over here. And with no travel plans in the future the kids have had extra time to plan out tree forts, climbing apparatus, bucket brigades, fire pits and bike paths. My evenings are filled with tick checks and laundry loads of mud caked clothing. But we are all enjoying the outdoor space. The weather hasn’t been super cooperative for boating just yet, the house over looks the Hudson River and we can launch from the property, but we are looking at a sunshiny weekend ahead.
We hope everyone is trying to make the best of their time at home too- even if that is more survival than progress.
Here’s some notes/suggestions on ideas for those of you who have suddenly been thrust into homeschooling while working from home, or homeschooling while someone else is working from your home. Our four kids are 9, 8, 4, and 2 years old. We’ve been homeschooling since our oldest was in Kindergarten and we’ve done it with Kevin working from home in 2016.. We use a purchased curriculum as a basis for our home instruction, but none of that is included in these notes. Neither do any of the activities require 10 gallons of glitter glue, 14 paper plates, black construction paper or a 3D printer. The idea here is you aren’t homeschoolers, but you now need to both entertain and educate your children for a few weeks. Clearly you have to decide what your kids need and what works for them and you! But I hope this provides some insight into how we are able to all work, learn and live together with a 30 year age span (I’m still learning too!). Some important life notes to remember, just like when you first became a parent and people told you completely useless advice like ‘sleep when the baby sleeps’ and ‘the house can be dirty for a few weeks’. You are the keeper of your sanity, if a clean house makes you happy, make that a priority, but recognize that there are more people there now, so some lenacy is also necessary. Remember too that if you are feeling overwhelmed by the new routine, so are your kids. Give everyone some extra ‘Space and Grace’. Lastly remember that no matter the age, if your kids are grumpy it can usually be solved with 1. Food 2. Water( shower, bath, hot tub) or 3. Going outside. And lastly but not in any way the least important – TALK. Talk about what is and is not working, talk about how something didn’t work and how it can be made better tomorrow, talk about someone’s favorite part, so you can include it again tomorrow! Just talk.
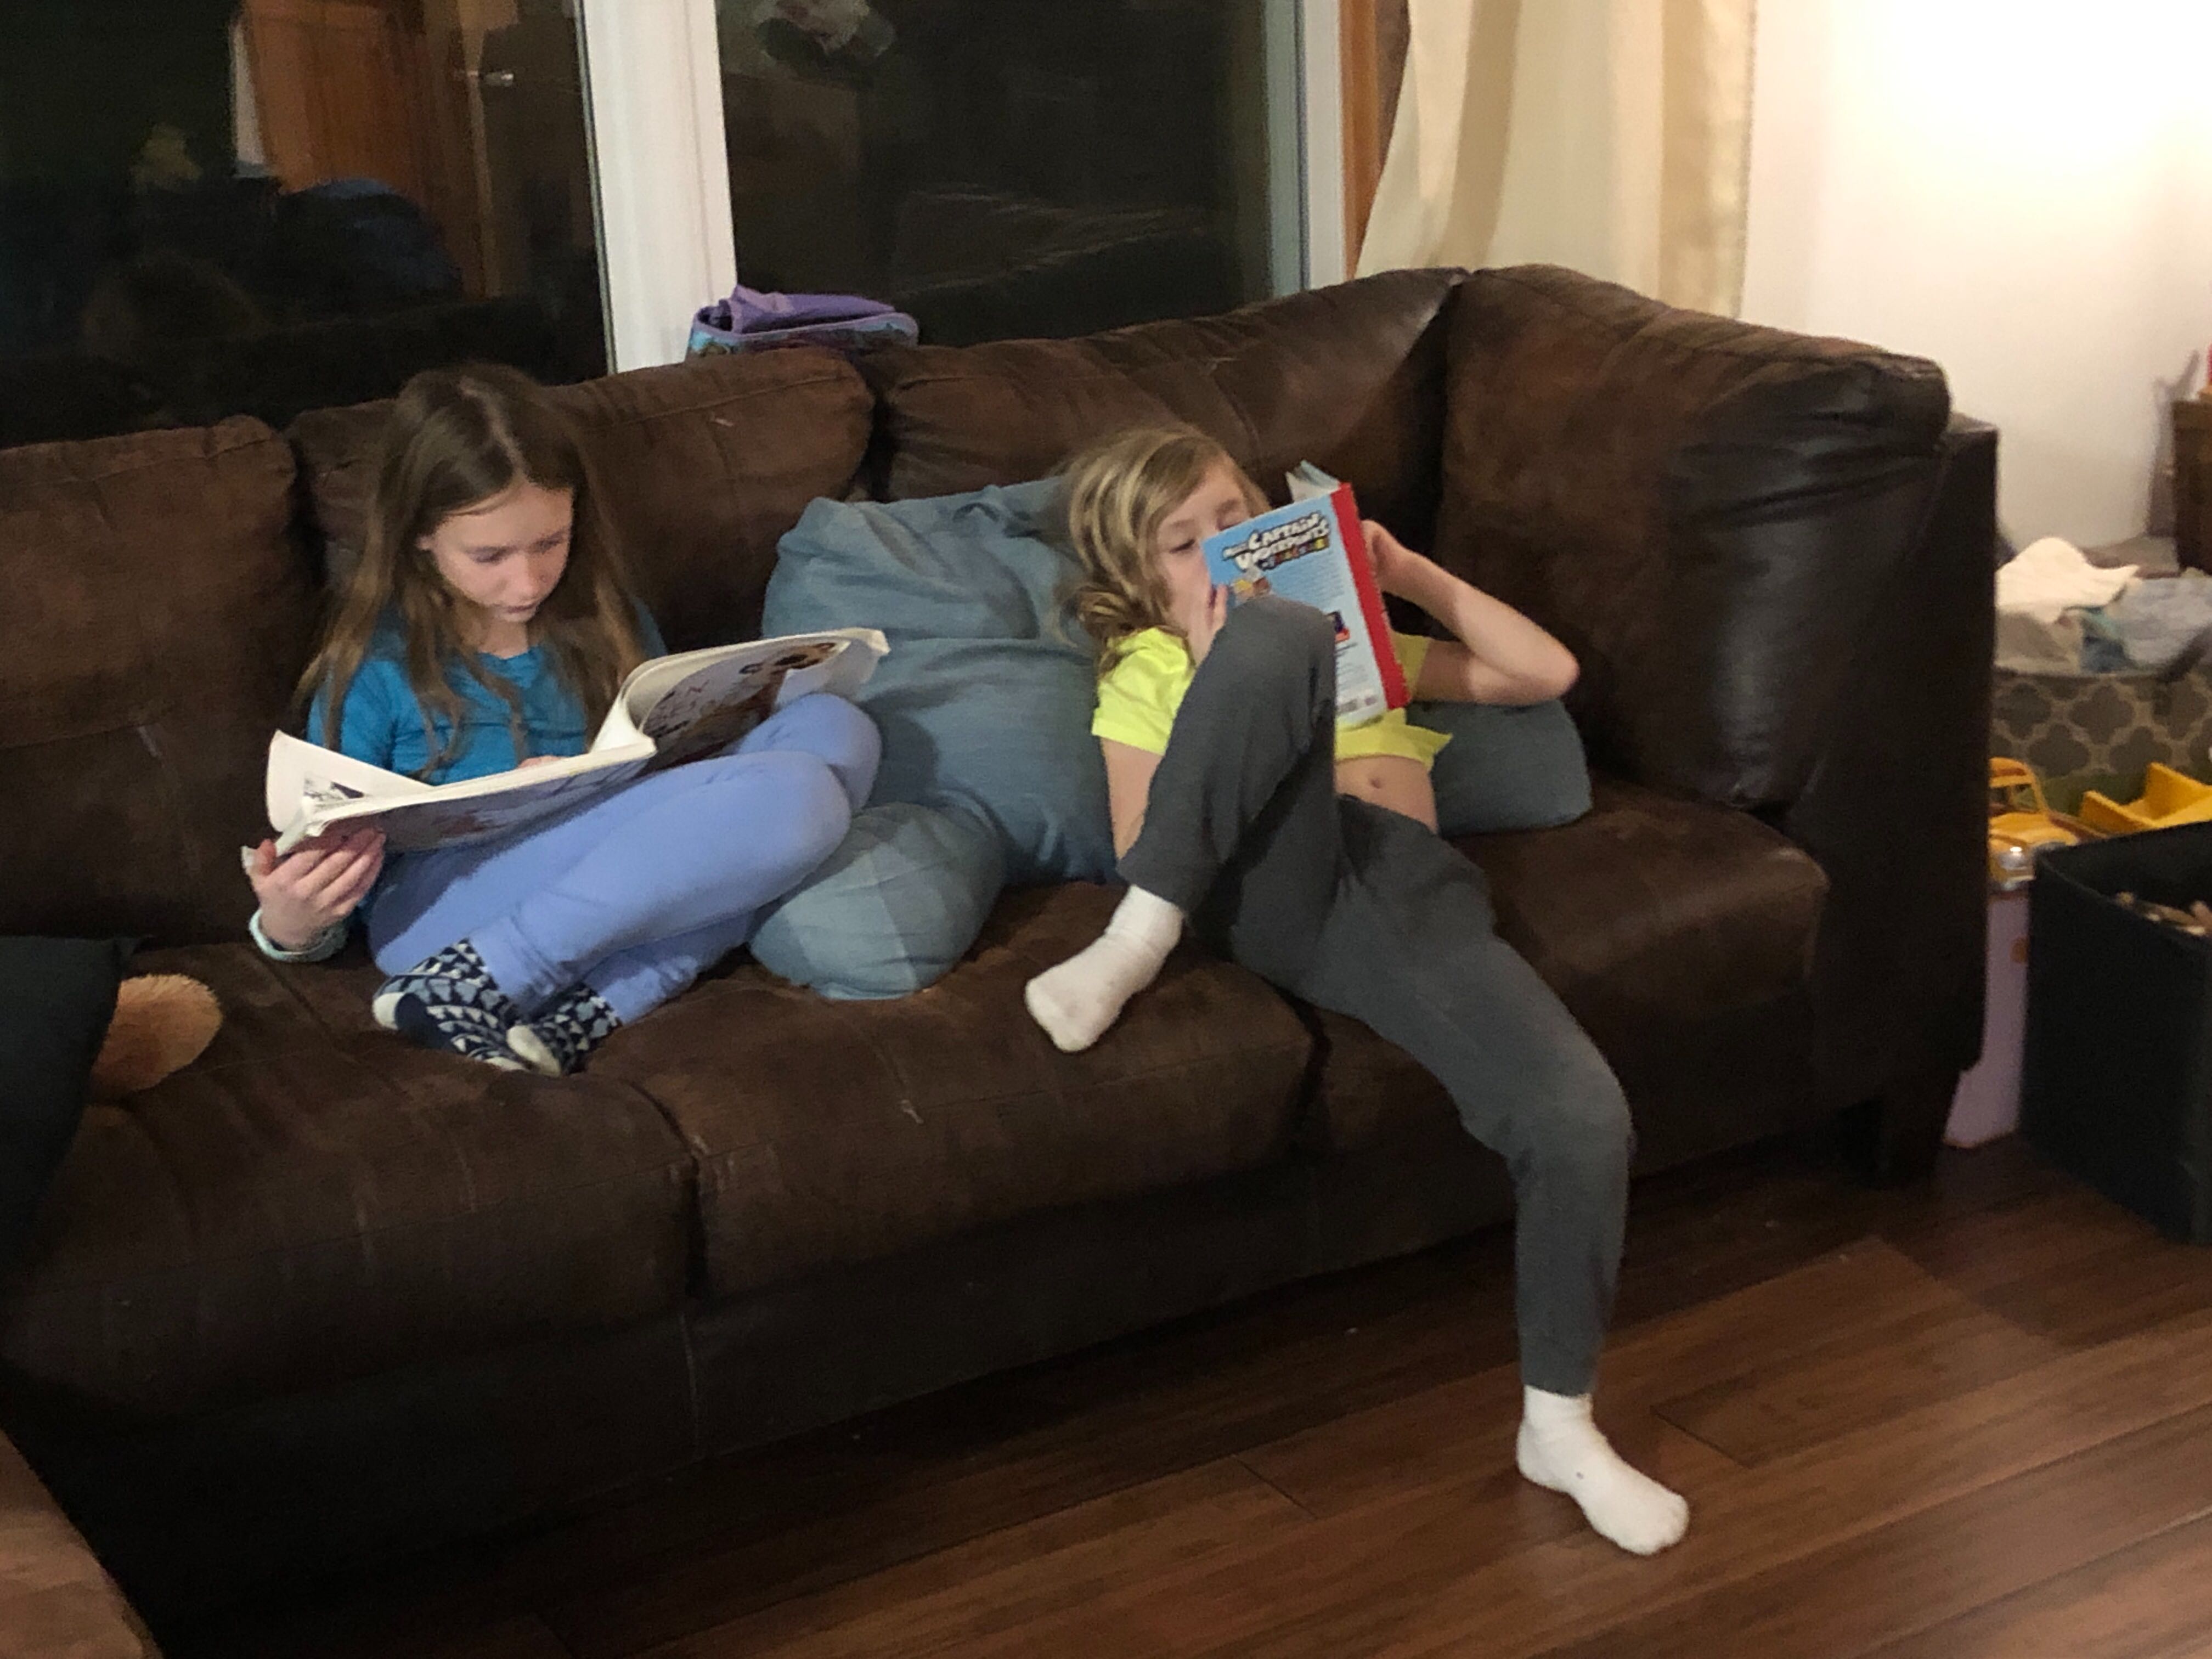
RK and Dman free reading on the couch
Schedules:
Schedules are important for everyone. But not the color coded ones you see floating around everywhere right now. You need to make a schedule that works for your house (and that’s everyone in your house!).
Naps: No one naps in our house anymore. But if you have a younger sibling who naps, use that precious time for activities that can’t be done with a younger “helper”. A game with tiny pieces, read aloud a book that a toddler can’t follow the thread in, learning a new skill (knitting, cooking, coding?)
House volume: In our house the volume level for K’s client meeting schedule & team planning meeting times are protected much more than say… a one-on-one with someone about how to access something. Find out what times need the most attention for kids to be quietly entertained and start there- No point in making a schedule with “Dance Party Break” happening at the same time as a client pitch.
Exercise: Young school age kids just went from gym and recess regularly to being stuck at home. Older kids went from walks to a new class every 40 mins and extra-curricular activities to being confined. Everyone needs exercise. Inside or outside, figure out how to get everyone moving (little kids can get moving by picking up toys, older kids can replace those classroom transitions with laundry switching duty).
Food: Hangry kids and adults are no fun for anyone. Build in snacks and meals to your schedule- but remember you probably don’t have a home chef, so in addition to “meal time” you need meal PREP time. What are you going to eat? How much prep time is involved? Do you eat turkey sandwiches for lunch everyday, but your kids won’t eat turkey? Or Sandwiches? Also since you probably don’t have a water fountain the kids stop by 4 times a day, make sure there’s easy access to water, dehydration is often a problem when kids (and adults) transition to home. Did you have a water bottle you sipped on at the office, but never thought to use it at home? You use to walk to the coffeeshop after you 10 am meeting- make sure you’re getting that exercise and your liquid even if the coffeeshop is off limits for a while.
Screen Time: Screen time is not the enemy. It is not the answer to all problems either. Try to use it to your advantage.
Our Approach:
We often laugh when we have “extras” around that our homeschool approach is more like “summer camp” than public school. We have generic themes where kids, of various ages or skills, can participate at their own levels.
To plan a week- look at your schedule constrictions- which day and times have NO NOISE blocks- if there is an adult available at those times maybe that can be your “outside time” (Pro Tip: Start out early, a kid screaming because they can’t wear their dinosaur socks with their Elmo boots isn’t very silent!).
Look the weather! “Outside play time” only works if it’s not 106 degrees or thunderstorming or blizzarding.
Preschool Subjects:
Because we often know what math looks like in 3rd grade (multiplication) but not to a 3 year old.
Arts: Singing, Dancing, drawing, painting, gluing “just a dot, not a lot”
Here’s what making a schedule for March 17, 2020 might look like:
No noise 1-2:30, Lunch needs to be before 12 or after 1,
St.Patrick’s Day, Need to prep Corn Beef for dinner, No rain, cloudy
Resources:
Alexa, play children’s st. patrick’s songs
Jars of change collecting on dressers
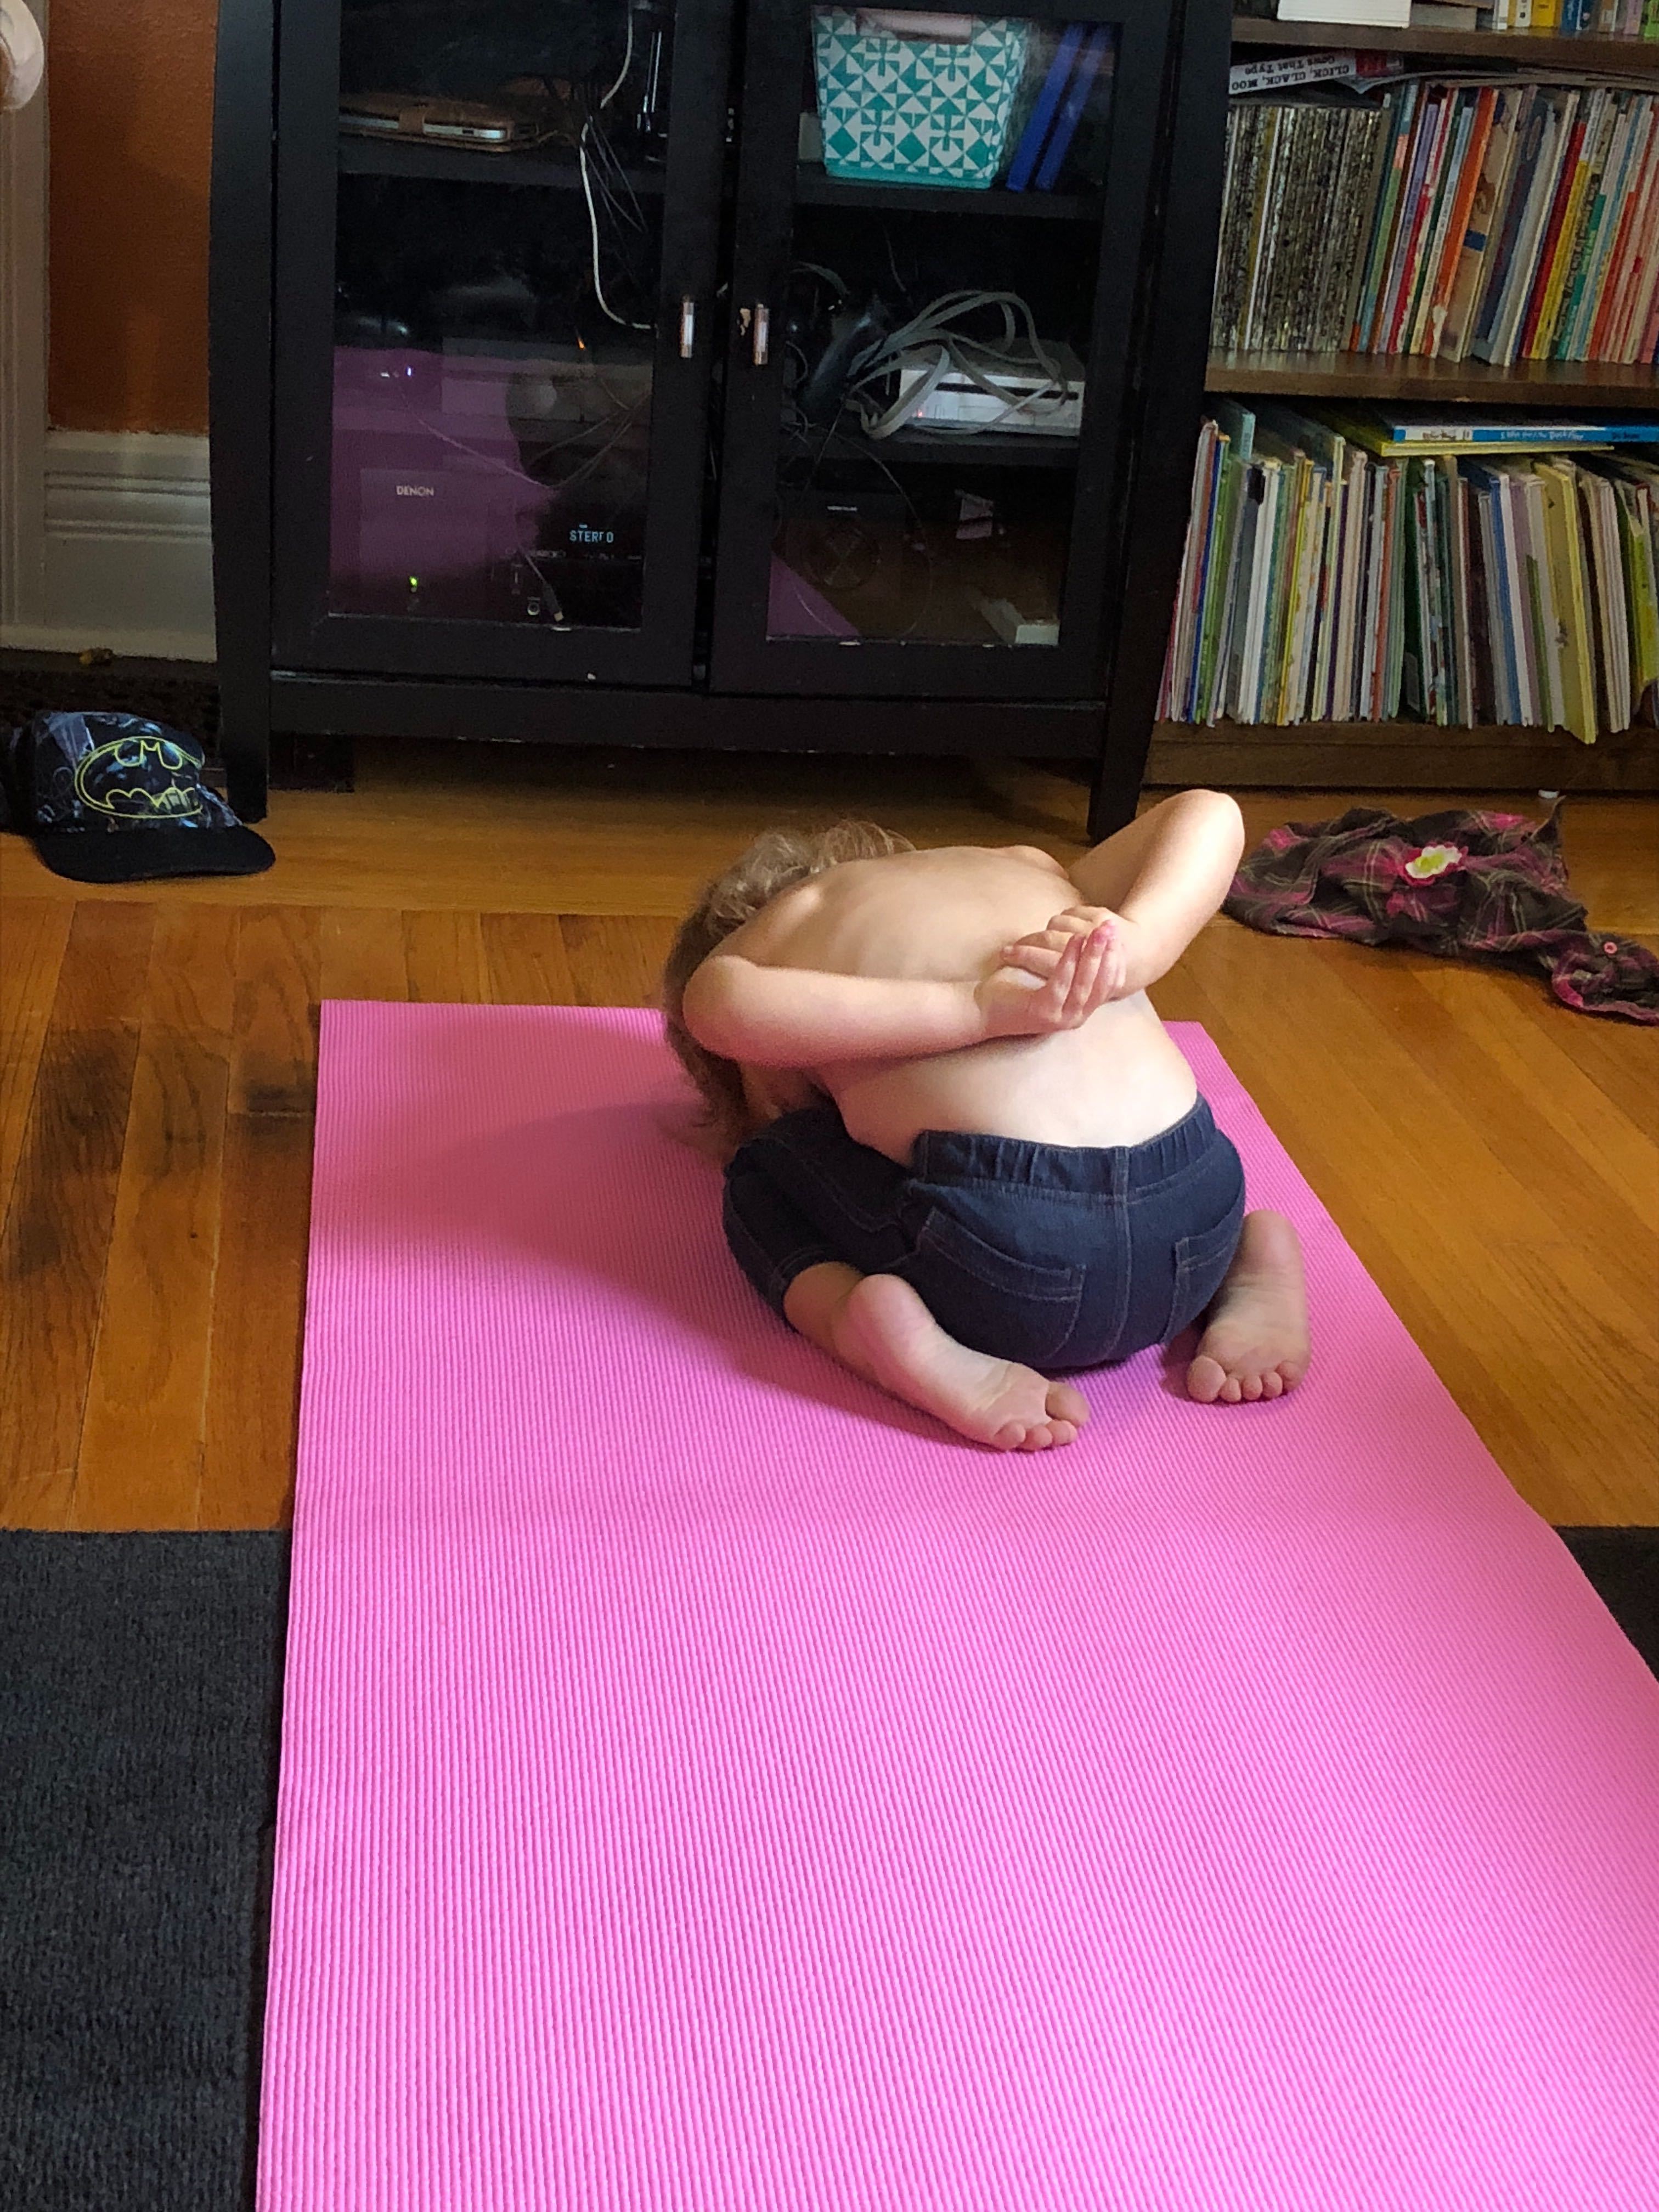
Cosmic Kids Yoga: a great kids yoga YouTube series
Any picture of rainbow (homemade or from say a game of Candyland)
Food:
Breakfast: Green eggs, and golden potatoes
Lunch: Yogurt- dyed green? With a pot of “gold” aka granola to pour on top.
Dinner: Crock Pot Corned Beef
(Youngest gets carrots & potatoes and brings them to counters, middle 2 kids peel them, oldest chops and measures seasonings) This is a scheduled group activity instead of something I have to figure out how to do while they are entertained.
Snacks: sort fruit loops by color, organize by number, place in rainbow order. Anything green! Food coloring in white milk is almost as fun as chocolate milk, Celery with ranch – (Remember you are surviving not being a pinterest champion- you’re kids will be just as receptive to a bowl of fruit loops as they will to eggs cooked into pepper “shamrocks”!)
Toddlers & Preschoolers:
Math: Counting: “bring me 5 carrots”, “eat 7 fruit loops” “How many colors are in the rainbow?” “7 is lucky”, Sort stuffies by color. Select green clothes to wear. Sort money by color? By size? Stack them, which stack is taller?
Science: What colors make green? Experiment with food coloring, markers, crayons, paint, etc.
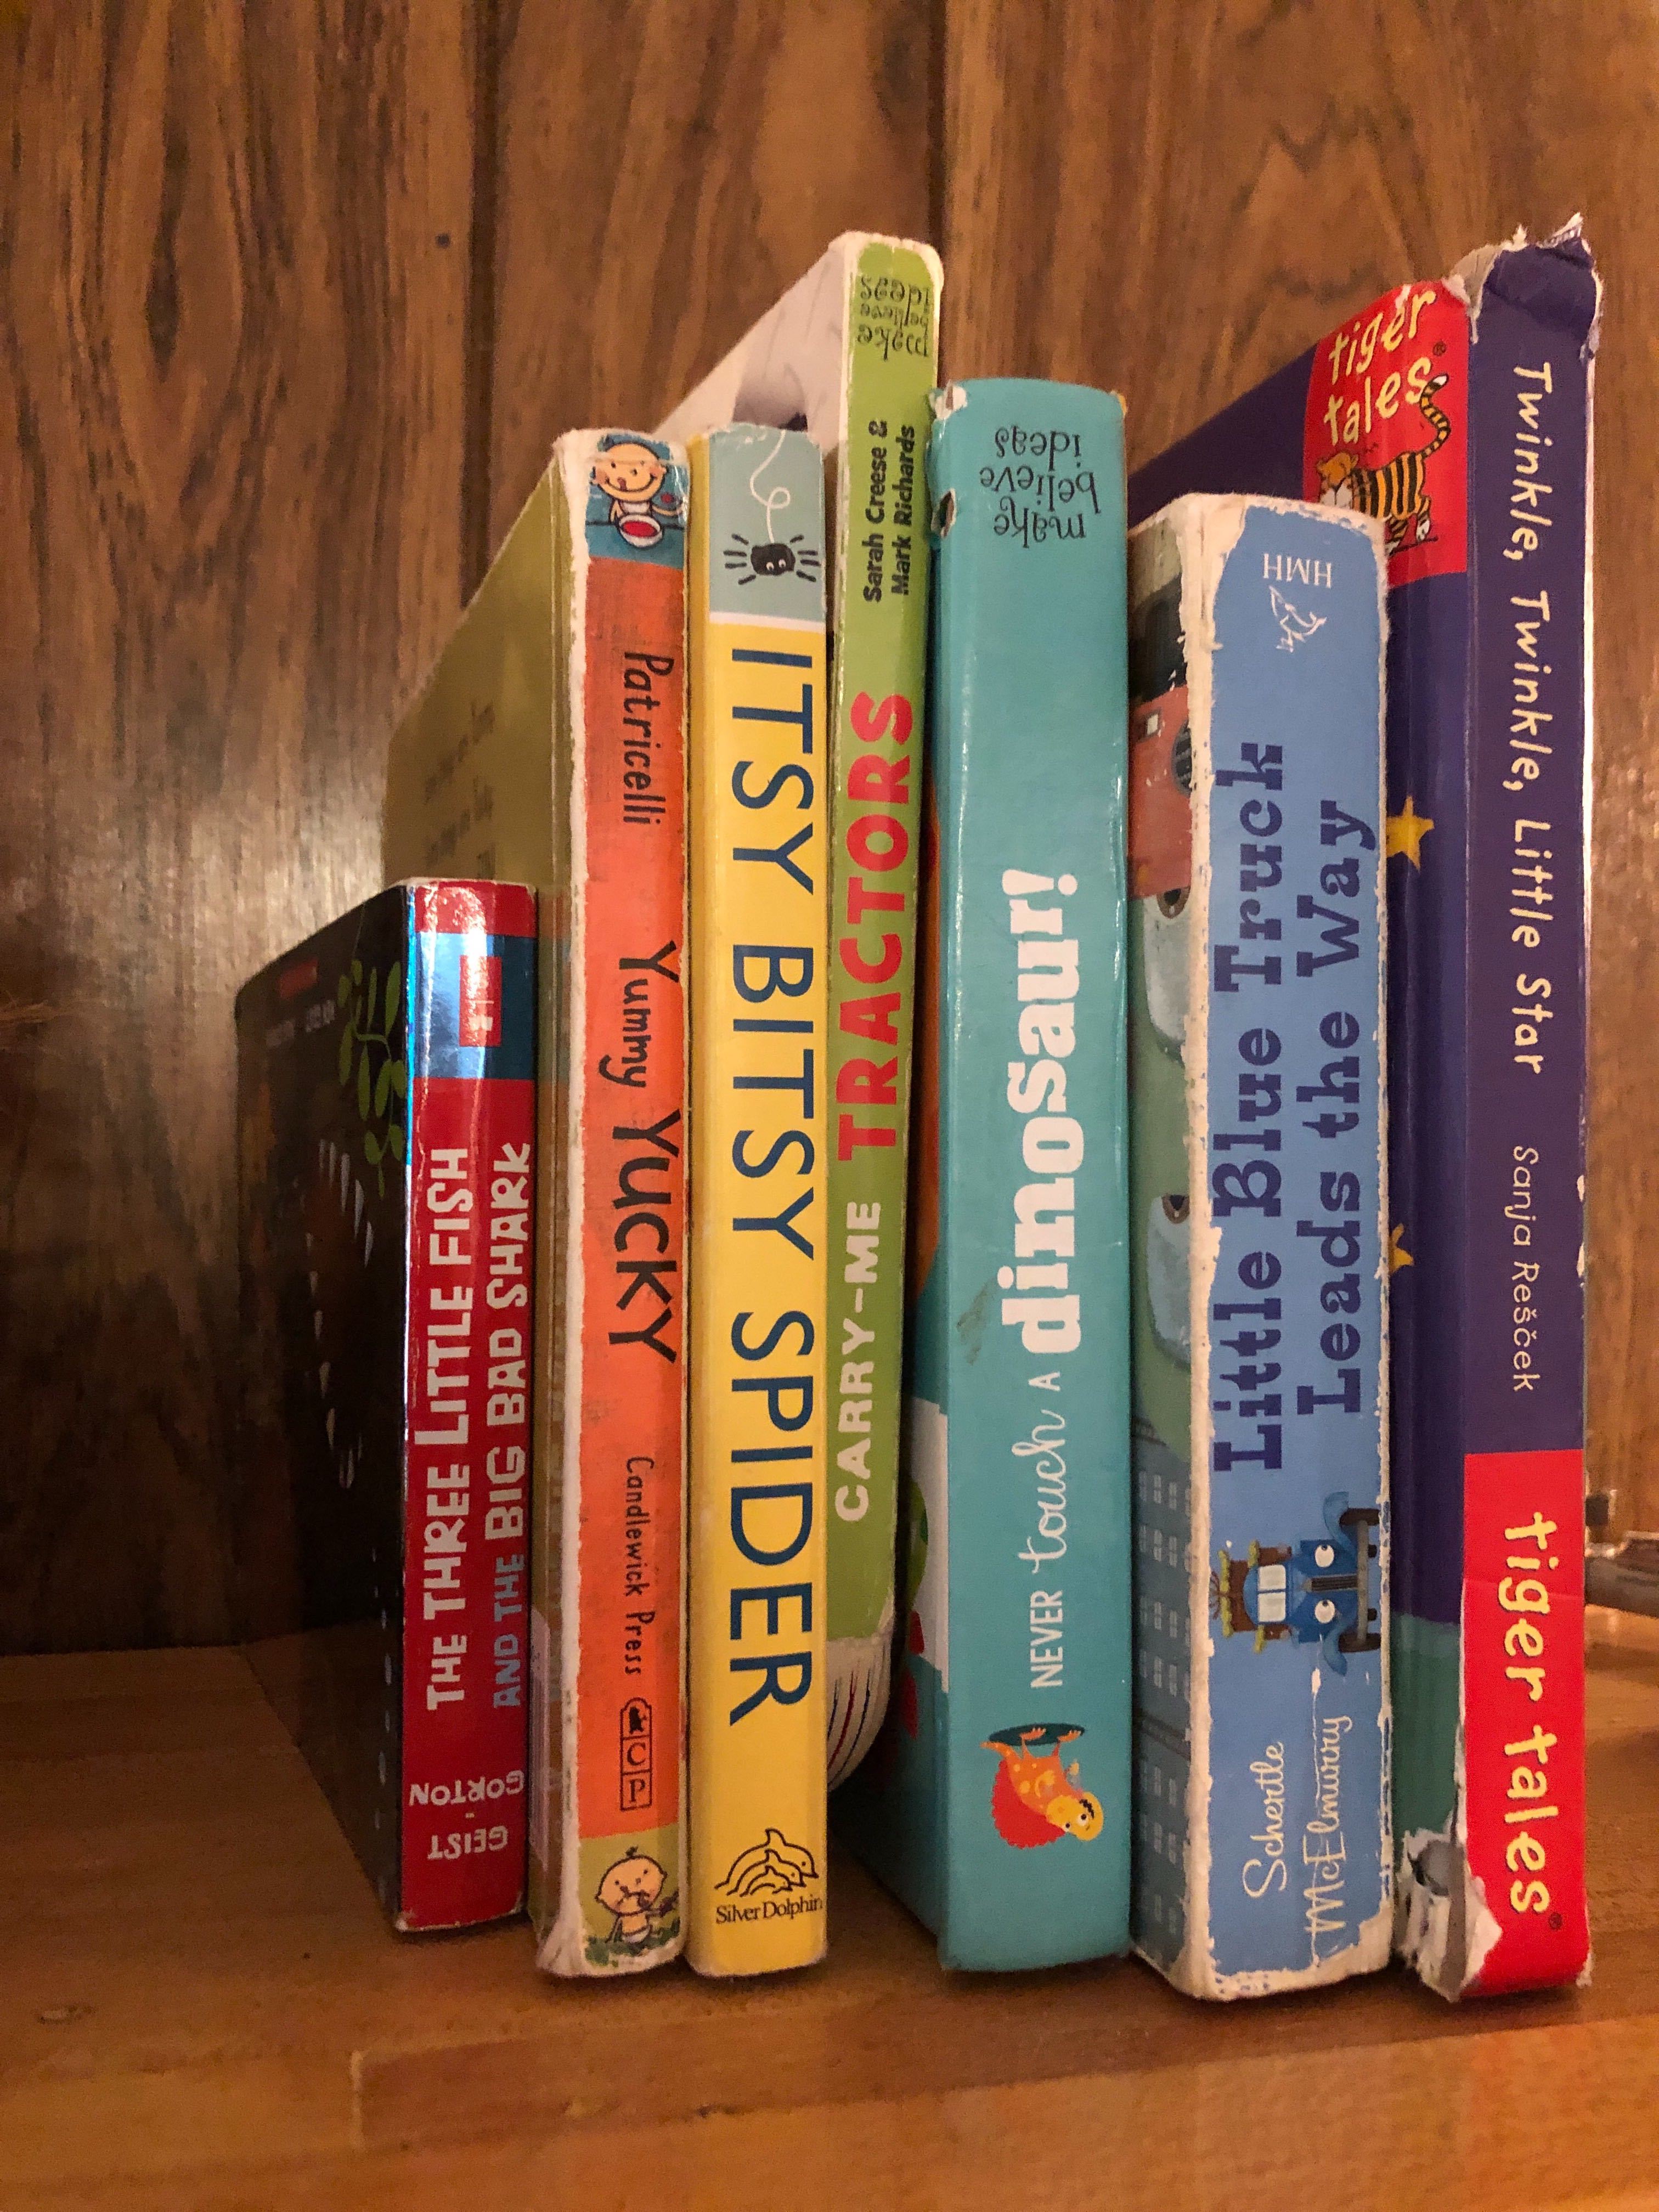
Reading: If you don’t have leprechaun books, Select books where the spine’s are ROYGBIV, “7 is lucky and the Rainbow has 7 traditional colors” read those 7 books, books on rainbows (think baby’s first colors, Duncan’s crayon’s books, etc.).
Arts: Play St. Patrick’s Day songs while coloring pots of gold, making rainbows with colored pencils, watch and repeat Irish Step dancers on YouTube,
Math: Chop the carrots into 6 pieces or make sure each potato is chopped into an even number, learn denominations of coins or sort out $1.77 in coins using only 1 quarter, etc. How many pennies are there in “preschoolers” pile? How much change is that?
Science: Make and label shades of green: teal, aquamarine, olive, hunter, etc., use all the markers, crayons, colored pencils etc. (copying the names from the utensil is perfectly acceptable!)
History: How big do you think a leprechaun is? Size of my coffee, cup? Okay, let’s measure my cup: with a ruler, with a paper clip, with your fingers. Who was St. Patrick? http://www.history.com/topics/st-patricks-day
Kilts are usually more scotish than irish, but feel free to have fashion shows with kids in skirts.. Girls and boys can have laughs at wearing mom’s or sister’s skirts with long socks (dad’s?).
Reading: Maybe an older kid can read the preschooler’s selections, Draw a picture and then tell a story about what they would do if they found a pot of gold?
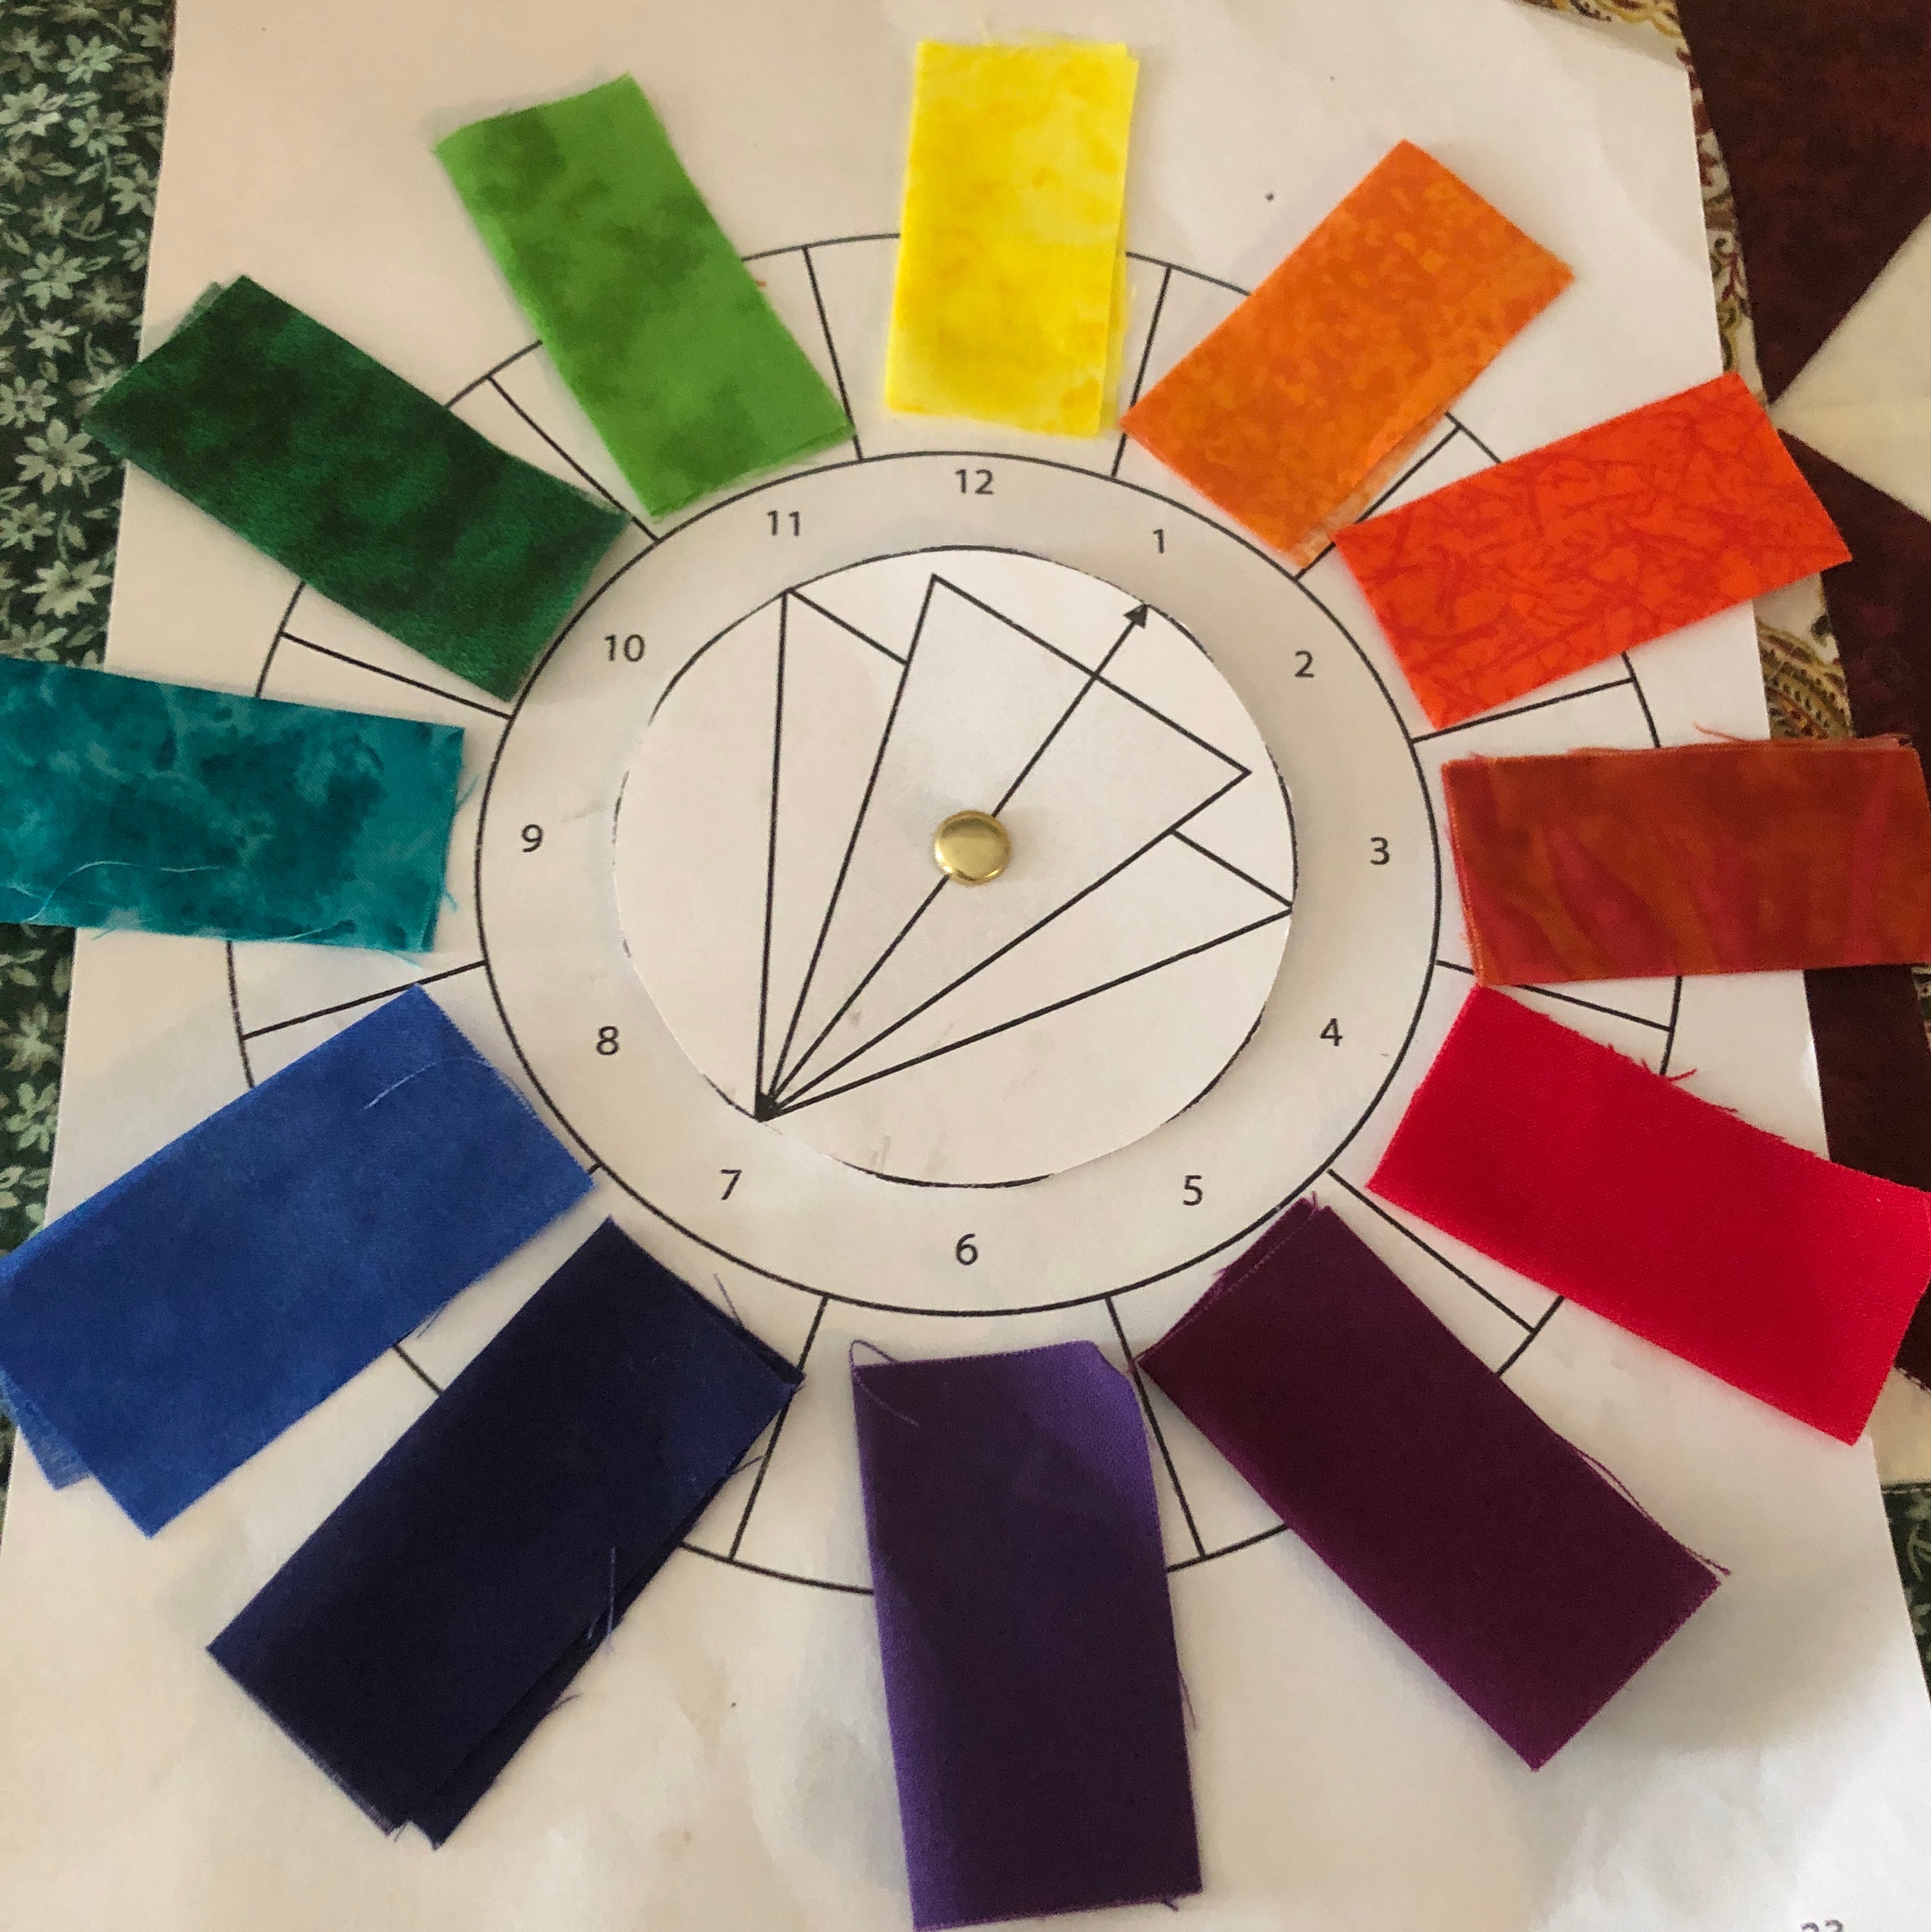
Arts: Color wheel lessons, Break out your childhood crafts- remember cootie catchers, teach your young learner to fold and those, color and make st. patricks day “fortunes”. Have a game scrabble? Make a list of St. patrick’s day words and see if your learner can make them intersect using the scrabble letters. Make a theme picture using only fingerprints (no need for ink pads, crayola markers colored on fingers will “stamp” onto paper, grab wet paper towel or baby wipes to clear between colors)
Mindfulness: Same as preschoolers, Cosmic Kids butterfly one has a rainbow background
Games: Candyland, Any color match type game you might have
Late Elementary School Learners (8-11yrs)
Math: Help read the recipe for corned beef, learn proper meat handling properties, identify spices correctly. Count the total value of coins, maybe they get to keep some if they are right? Today is 3/17? How many months/days until your birthday?
Science: Select a green object in the house, use yellow/blue medium (watercolors?) to create that exact shade. Shine pennies (a small dish with vinegar and salt will remove the oxidation and make pennies shiny). Relate that to the Statue of Liberty looking green, and the time/energy to make her copper shine.
History: When learning about St. Patrick, discuss more about the traditions, or how they can be recreated. (Banishing of snakes? Maybe you can banish something from your house? What would it be?)
Reading: Artemis Fowl is a good late elementary read that includes leprechauns. Additionally, at this age the reading doesn’t have to be topical. Independent reading on any topic is important. Let them pic something to read, while you focus on the littles… or laundry??
Arts: Similar to the early learners, starting with a picture and then WRITING the story of how the leprechaun found the gold, or what it did when your child stole the pot of gold?! Child resistant to writing? Have them make their picture 3D, folded paper popups, arched colored strips to have rainbow stick up, glue your newly shined pennies to their pot, for gold! Branch out on the mediums with these kids, Minecraft lover? Build your “scene” in creative mode. Lego fanatic, let’s see those 3D pots of gold and rainbows!
Mindfulness: This age is still usually good with Cosmic Kids, although they are often able to start directing their needs better by this point and may opt for more reading time, shooting hoops alone or more time to build something with legos. The idea here is not that there is no- structure, but that they can do something to recenter and focus on themselves (even if they don’t know it.
Games: Topical Games for this age are usually best a) made up, b) physical and c) completely ridiculous! Can you toss a penny into a pot from across the room? Can you protect your rainbow that leads to the gold (make something to block the light path from a flashlight? Play a favorite game but add the theme “rules”. Play solitaire with flips of 7 instead of 3. Game of Life, spin a 7 get a free turn. Monopoly: get $200 extra dollars every time you roll a 7, or make the GREEN properties require donations to the ‘Community Chest’.
Mostly remember your homeschooling adventure doesn’t need to require special subscriptions to online schools, it doesn’t require bizarre materials or massive amounts of worksheets to be fun, engaging and provide the kids with copious amounts of education.
In a saucepan WHISK: sugar, cornstarch, and salt. ADD: milk and egg yolks until combined. Continue WHISKING and SCRAPING sides until it starts to bubble and slightly thicken. ADD: 1 Tbsp butter at a time, after all butter is added… ADD: Vanilla ADD: Chocolate a little at a time, melt all before adding more. Keep over heat until all is melted and mixture is smooth and slightly thickened.
POUR: Mixture into prepared pie pan (Graham Cracker Crust!). Cover and refrigerate at least 1 hour until cool and set. PIPE: 2 cups of whipped cream onto cooled pie, garnish with mini chocochips (appx 1/2 cup). SERVE: Cold.
This recipe is a labor of love, made from trial and error and my family and friends eating a variety of too dry, too sweet, too peanut-buttery, too protein or generally left uneaten throughout the house because no one wanted to tell me another batch was a flop. The final version is a tweaked version from Erin at Well Plated.
-1/2 cup creamy peanut butter
-1/4 cup honey
-2 Tbsps Coconut Oil
-2 cups oats
-1 overflowing scoop of Protein Powder (we use Bob’s Red Mill Vanilla Protein Powder – it is vegan, but does contain monk fruit)
-2 Tbsps ground flax/chia mix
-1/4 tsp cinnamon
-1/4 tsp sea salt
-1/4 cup mini chocolate chips (optional) – we’ve used butterscotch chips or craisins before too.
Step by Step
Lightly grease an glass 8×8 pan (if using metal instead of glass you may want to line it with parchment)
Using a double boiler or a heatproof bowl OVER a pot of simmering water melt & mix- peanut butter, honey and coconut oil until smooth.
Add the oats, protein powder, ground flax & chia, cinnamon and salt and stir. **If adding an optional mix in let cool slightly**
Add chips if desired.
Press firmly into prepared pan then place in freezer for 1 hour. Remove from freezer. Invert pan onto a cutting board and slice bars in half then into strips creating “bars”. Bars can be stored in refrigerator, or individually wrapped for packing in lunches or day packs.
A while back I wanted to be able to make pizza at home… and have the crust taste good. At the time my youngest couldn’t tolerate dairy… which meant he and I had to have dairy free pizza. And although there are a few shops around that sell it, the general consensus was those shops didn’t have as good “regular” pizza. So that made a “quick” dinner option require orders from two locations?! Defeating the point. Hence homemade pizza crusts & pies!
I tried a bunch of online recipes as well as some from a few tried and true cookbooks. I eventually settled on Bobby Flay’s, it takes bread flour, but since we were already making dairy free bread this was an ingredient we had on hand. I’m sure you can make the recipe with other flours, but the higher gluten makes a really nice crust. Second, this dough freezes well- I make several batches ahead, toss them in the freezer in balls that make 2 pies for us. On weeks when I know things are going to get busy I grab a dough ball and toss it in the fridge.. it stays good there for several days until we need it.
Here’s the recipe:
4 cups of bread flour
1tsp raw sugar
2 1/2 tsp instant dry yeast
2tsp salt
1 1/5 cups warm water
2 Tbsp olive oil, plus an extra drizzle
One of the reasons I like this recipe is I don’t need to develop the yeast ahead (no waiting, no extra dished!).
Combine the bread flour, sugar, yeast and salt in stand mixer bowl place on mixer with dough hook attachment. While mixer is running; add the warm water and the 2Tbsp olive oil. Dough ball should form on dough hook. Scrape off dough hook onto lightly floured counter. Use floured or wet finger tips to if dough is too wet/dry. Knead gently into a smooth firm dough ball.
Drizzle olive oil inside walls of large clean bowl, add dough ball and cover (I use a clean tea towel) and set in a warm place to let rise for 1 hour.
Once risen, turn out on lightly floured counter and divide in to 2 equal pieces. Cover with the towel and let rest for 10 minutes. **Note if Freezing** After 1 hour of rising, place in freezer safe container/bag and freeze. When defrosted, divide into 2 pieces and let rest under a tea towel for 10 minutes.
Spread dough onto pre-heated pizza stone top with desired toppings and cook at 400F until desired doneness.
Shopping is an all day experience for us. We start by taking inventory of what we have in the cupboards – there’s never anything left in the refrigerators! We have a monthly staples google sheet that lists items we use regularly and want to have on hand- everything from string cheese to celery seed. Once we know what we have (inventory) and what we need (menu planning). Now it’s time to come up with a shopping list. Our spreadsheet is organized by store – through trial and error we’ve found better prices or quality or selection of certain items at different stores- and since I’m only going once a month it’s easy enough to get the best items at the best prices. Then we go through our menu and see what we need for each meal. We have a set of the vintage primary Pyrex mixing bowls that we use to serve meals from- green for veggies, blue for protein, red for fruits and yellow for grains. We try to have something in each bowl for each meal. This means when we’re making our shopping lists we are adding in fruits & veggies that may not have been explicit on the menu. Example: Monday’s Menu says Spaghetti -Shopping list needs include: Spaghetti noodles, pasta sauce, meat/meatballs, salad greens, salad dressing, assorted fruit. (Note: in the summer months I’ll often buy noodles and bread -when it’s 98 degrees here – there will be no bread baking in this house with no A/C!).
Dressed up for Grocery Shopping
We shop as a ‘6 pack. All of us go to all the stores on shopping days. This definitely adds time to the process, but also gives our kids a sense of where their food comes from- not just the farmers at market but which items are available in organic or not, fresh or frozen etc. To keep their spirits up and make it more of an adventure we’ve done all sorts of things- R blogged about our ‘dress up’ shopping day here.
Then all that’s left is organizing your shopping – we tend to go to the bulk stores first. If we can’t get something there we thought we could, we can more easily pick it up at smaller store. Additionally, we have a large cooler we keep in the car to keep frozen food frozen. On really hot days, we pack more coolers to keep refrigerated items an appropriate temperature too- remember they sit in the car as we shop at other stores!
Lastly, we do get some items delivered- we have a local dairy, King Brothers’ Dairy, that delivers milk and other assorted dairy products- we get milk and buttermilk regularly. This saves us needing to buy 8-10 gallons of milk a month and lets us source it locally.
By the time we get home the kids are hungry but generally still help with unloading, sorting and storing food. We are always trying to figure out ways to balancing our consumption of food with decreasing out food packaging, but much of our food does get unpackaged as soon as it comes in the house- I find it gets used better, and quicker in the case of perishables, if it is already separated, unpacked or opened.
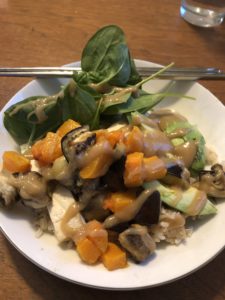
It’s snowing again today in upstate. It’d be the perfect day to have a hot soup simmering on the stove all afternoon filling the house with the warm smells of onion, garlic and whatever leftover veggies I have in the fridge. However, R does not love soup. There are a few soups we can slip into the menu – homemade ramen for one- Campbell’s tomato soup is another and recently we were able to get her to eat an orzo soup. But generally, my love for soup is constricted because of this resistance. Soo… we needed a warm the body and soul alternative for when the temperatures stay below 0℉. Buddha Bowls have been our answer. Generically a ‘Buddha Bowl’ is just a bunch of food in a bowl-piled high to resemble a ‘Buddha’ belly. In practice, for our family, it’s a great way to use up leftover vegetable bits and have a customizable dish (my crew does better when they feel they have some control over what goes on their plate er bowl).
January Buddha Bowl
Our most recent version was served over rice- if you don’t have a rice cooker I highly recommend one. We have an InstantPot which has a rice cooker function, but we had our rice cooker first (I CAN NOT COOK RICE!) so we still use it- it makes perfect rice every time and really that’s what I need. So I made 2 1/4 cups (dry) rice in the rice cooker it takes just under an hour- which isn’t fast, but it’s hands off so I’ll take it. First I needed to press my Extra Firm Tofu for cooking – I wrap it in a tea towel and evenly apply as much pressure as possible (without having it loose its shape) in all directions. Once it seems well pressed – I rewrap it in a new dry tea towel and place something heavy on it- usually a stack of cookbooks, last night I used a stack of pie plates I need to give away but are still taking up precious countertop space.
Next the veggies- I peeled and diced a butternut squash we got last week at market but hadn’t used yet, drizzled it with oil (I used canola but most any would work) and sprinkled with cinnamon, nutmeg and garlic. Then I tossed it on a jelly roll pan in the oven at 400℉. Now the eggplant -1 fresh eggplant sliced into thick 1/2 rounds- sprinkled with salt and let stand for 5-10 mins, rinse and pat dry, then cube and toss with more oil and salt and pepper and garlic. Spread on another jelly roll pan and slide into the oven with the squash – I gave the squash a quick stir while I had the oven open. If you have other vegetable you’d like to add cooked this would be the time, I didn’t have anything else pressing to use up so I moved on. This would be a good time to marinate your tofu… by this point all four littles were crying/fighting so our tofu never got marinated. I did make the dressing; tahini, maple syrup and fresh lemon juice. About a 1/3 cup of tahini, 1 Tbsp lemon juice and 3Tbsp maple syrup and then taste and adjust as necessary, I’ve found the type of tahini I have on hand varies the taste and proportions. Time to stir the roasting veggies again. We were adding fresh spinach to our bowl so I prepped that and put it in a bowl on the table (to be fair @Kevin did this as he had THANKFULLY finished his call and joined me in the very loud kitchen). By now the rice was done, I fluffed that and put it on the table, with the dressing in another bowl, sliced an avacado on a plate, and then pulled the veggies (they were mixed into one serving bowl). Next I sliced the tofu into strips and placed them on one of the jelly roll pans used earlier and stuck them under the broiler for a few minutes while I wrangled kids to wash hands and finish setting the table. The tofu was then put in another serving bowl and placed on the table and everyone began filling their bowls. My kids are generally pretty good eaters and I don’t think anyone of them left more than one ingredient off their bowl – a success!
About a year ago we started monthly shopping. Monthly shopping requires, among other things, monthly meal planning. So, about a year ago we started monthly meal planning. This works for us. It may not work for you. I don’t think it would have worked for us a few years ago (remember the year we gave up going to the grocery store?!). But right now, this works. First — in line with our intentional living we have strived to include the kids in our eating habits.
Sidebar: Many moons ago, before kids, K & I had dinner at a Sushi restaurant in Rehoboth Beach, DE while we enjoyed our meals in a carefree kidless manner I can barely relate to now, a young couple sat with a toddler who pleasantly ate sushi with their parents. K&I remarked how we hoped to have a child(ren) that would eat more than mac n’cheese and chicken fingers. How cool would it be to have a toddler who ate sushi? Flash forward more than a decade- tonight I fed our 14 month old sushi at a hibachi restaurant. All four of the EFffffing kids enjoy sushi (the youngest two stick to veggie rolls). Don’t get me wrong, they eat plenty of mac n’cheese too- but usually the homemade crockpot version and not the Sysco kids’ menu version. We won that round of parenting goals. Sushi eating kids – ✔️.
This inclusion, for us, looks a bit messy to most people. We meal plan, food prep, cook and eat all our meals TOGETHER! The six of us sit at the table together for 3 meals a day, nearly every day. This is a time to check-in with each other, to plan the day -or next day, to regroup, wipe the slate and start fresh or just make silly faces. This is a HUGE commitment! In theory we are like the Kennedy’s- elegant meals complete with political conversation- in reality… meals are more akin to that scene from ELF where he puts maple syrup on spaghetti. This post however, isn’t about the meal consumption or even preparation (the kids cooks regularly) it IS about how we meal plan. I’ll save the shopping for another day, because we don’t actually plan and shop on the same day.
Step 1. Give me all the calendars! We use google calendars to manage … well life. If it’s not on the calendar, it’s not happening. Work, school, appointments, birthday parties, sport practices, meetings, playdates- they all go on the calendar. You know what else goes on our calendar? Our menu! But before I can meal plan for the month I need to know what days we need meals cooked and if it needs to be a quick n’easy meal because R&D have soccer practice or if K has a late meeting so we need to have something that will hold on the stove until he can join us. We also don’t meal plan our weekends usually. They tend to fill up with errands, playdates, and day trips. We pack meals these days, use up leftovers or use up leftover ingredients… what can we make with penne, half a box of strawberries and some left over spinach? Same goes for lunches- while we DO plan to eat lunch everyday, I don’t assign specific meals to specific days. If a science project takes us to 1pm I don’t want a lunch that requires 20 mins of prep, likewise I don’t want to feed them yogurt & granola (a quick staple in our house) when I have time to make a cooked lunch. So, knowing your calendar is the absolutely the most important step in successful meal planning.
Step 2. Have a plan
Looking at a blank calendar trying to plan 3 meals a day for 3o days (or 22 without weekends) is daunting for anyone! In our house breakfasts repeat for the month-this month Monday’s are pancakes, Tuesday’s are oatmeal etc. The variety may change but the basic product is on repeat. Same goes for dinners; Monday’s are for Italian meals, Friday’s are for grilling. In the beginning it helped to have a list of meals for each category; a list of 6-8 items in each category including 1 new recipe and 1-2 easy prep meals. This step is the most important step to include the kids. There’s no sense putting a meal on the menu that is having complaints 30 days in advance. It’s just not worth it.
Step 3. Mix & Match
Look at your calendar and match up your meals – can you reasonably butterfly the chicken before basketball practice? Will you be able to let your dough rise for 45 minutes before you start to cook? If a kid is in charge of a meal, I need to make sure the kitchen is clean before they start, while I can pull that 1/3 cup measuring cup out of the sink and wash and reuse- it’ll wreck havoc on my 6 year old’s dinner preparation plans when that measuring cup is “missing”.
That’s it. No, really. That’s all there is to it.
I’ve tried a variety of meal planning methods and calendars – I have a stash of templates and files I’ve tried to make work. In the end a blank calendar usually works best – with a copy of our google calendar open on a screen next to me.
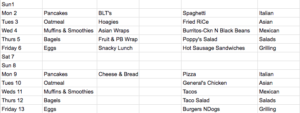
This month I did a super simples google sheet:
x-axis: Breakfast, Lunch, Snack, Dinner, Conflict, Chef
y-axis: Sunday July 1… July 30
Meal plan Screen Shot
*It’s worth noting July starts on a Sunday, we are shopping on July 1 so our ingredients and meal preps fit neatly but you may need to meal plan into the next month a few days to make sure you’re covered before you head back to the store.

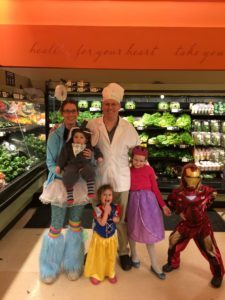 Dressed up for Grocery Shopping